Just like the rest of the features in EasySocial, the Marketplaces has custom fields support and it is very extensible just like user profile, groups, pages and events. In this section, you'll be checking out the marketplace workflows.
Marketplaces Form Builder
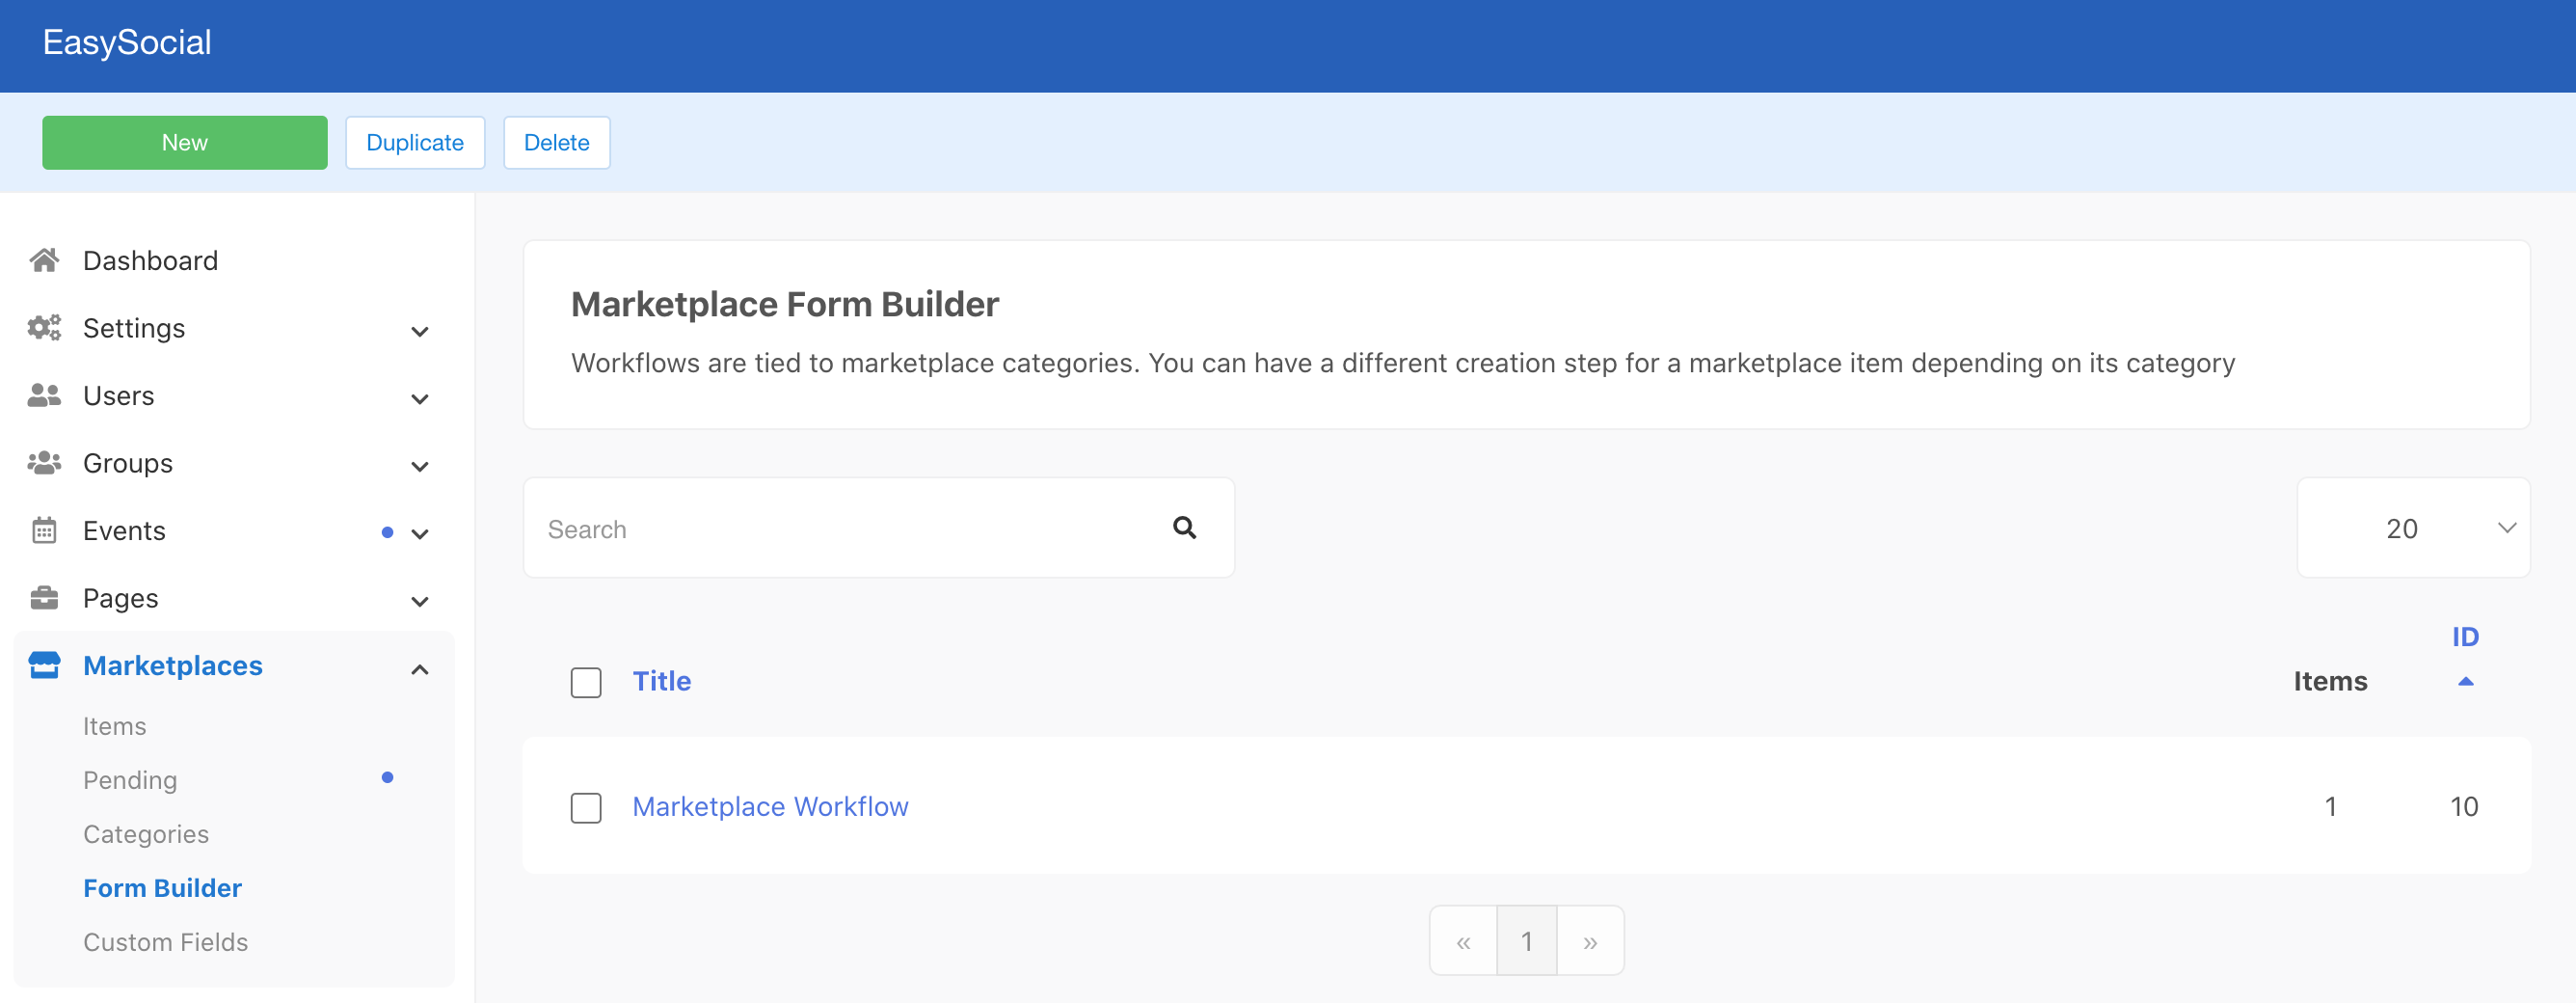
Marketplace workflows are tied to marketplace's category. You can create a different steps for a marketplace item based on your preferences. Upon installation, the default marketplace workflow will be automatically created for you.
If you wish to add a different workflow, click on the New button at the top left.
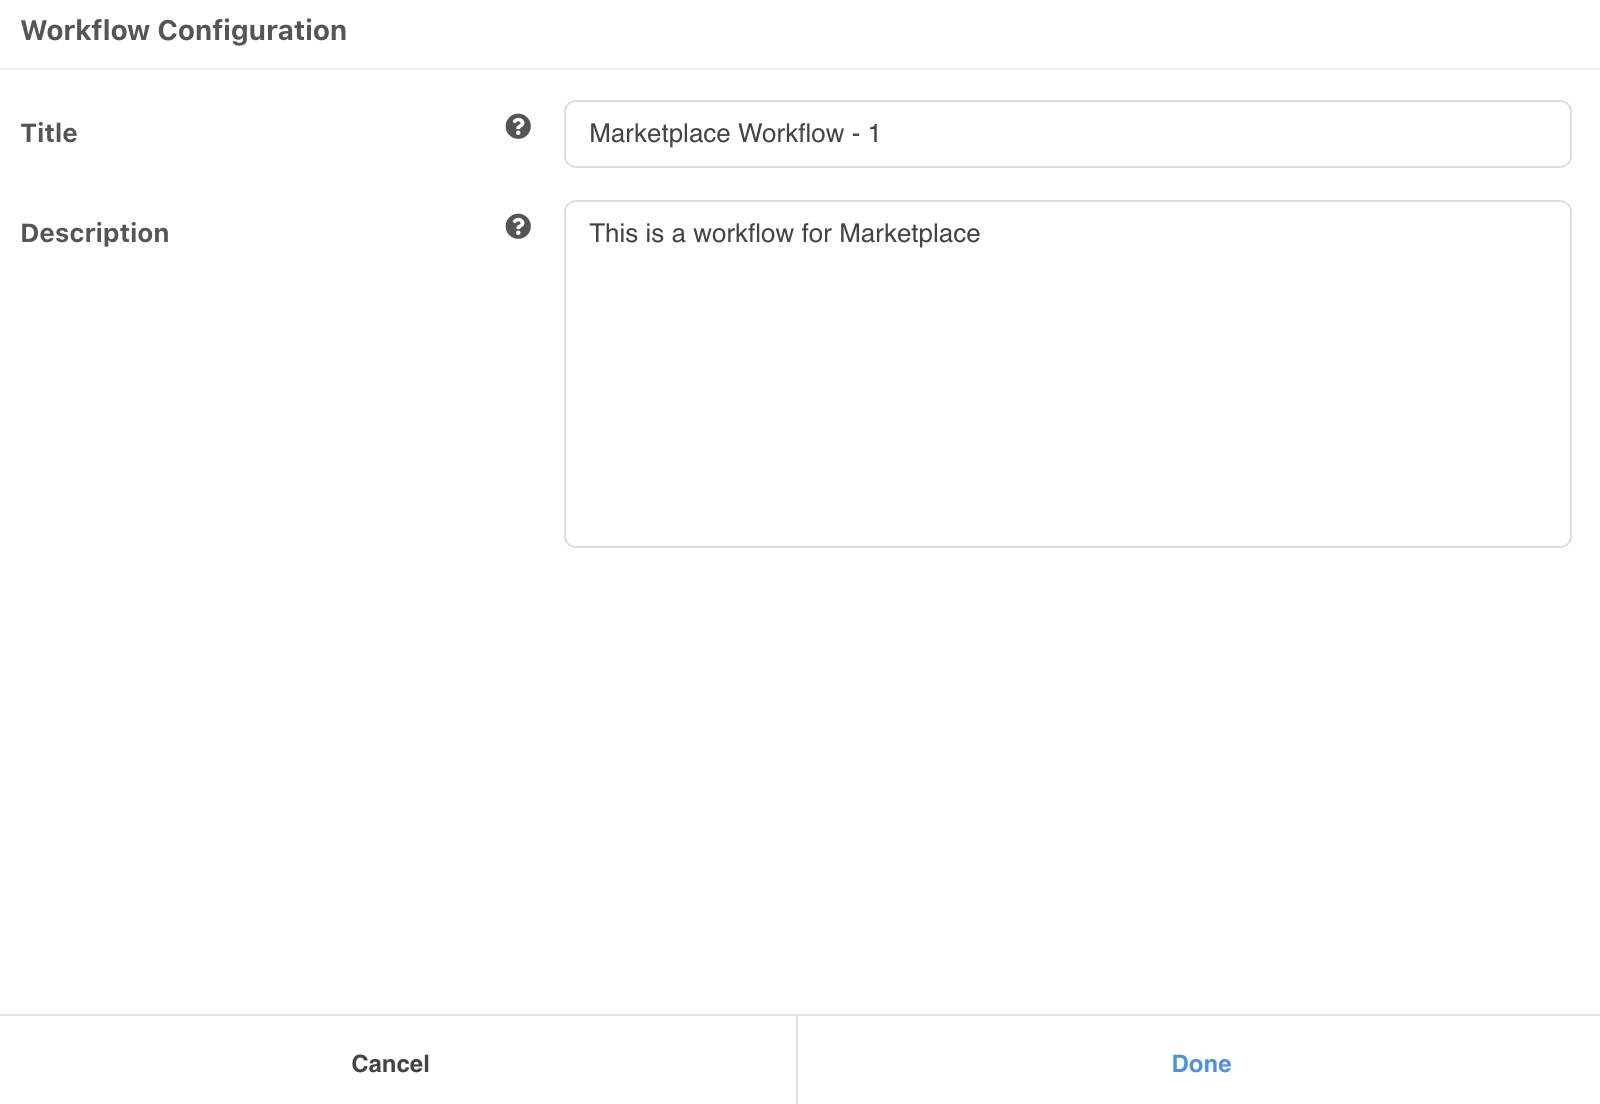
To edit the workflow title, click on the Edit Workflow button. Add your new title and description for the workflow and click Done.
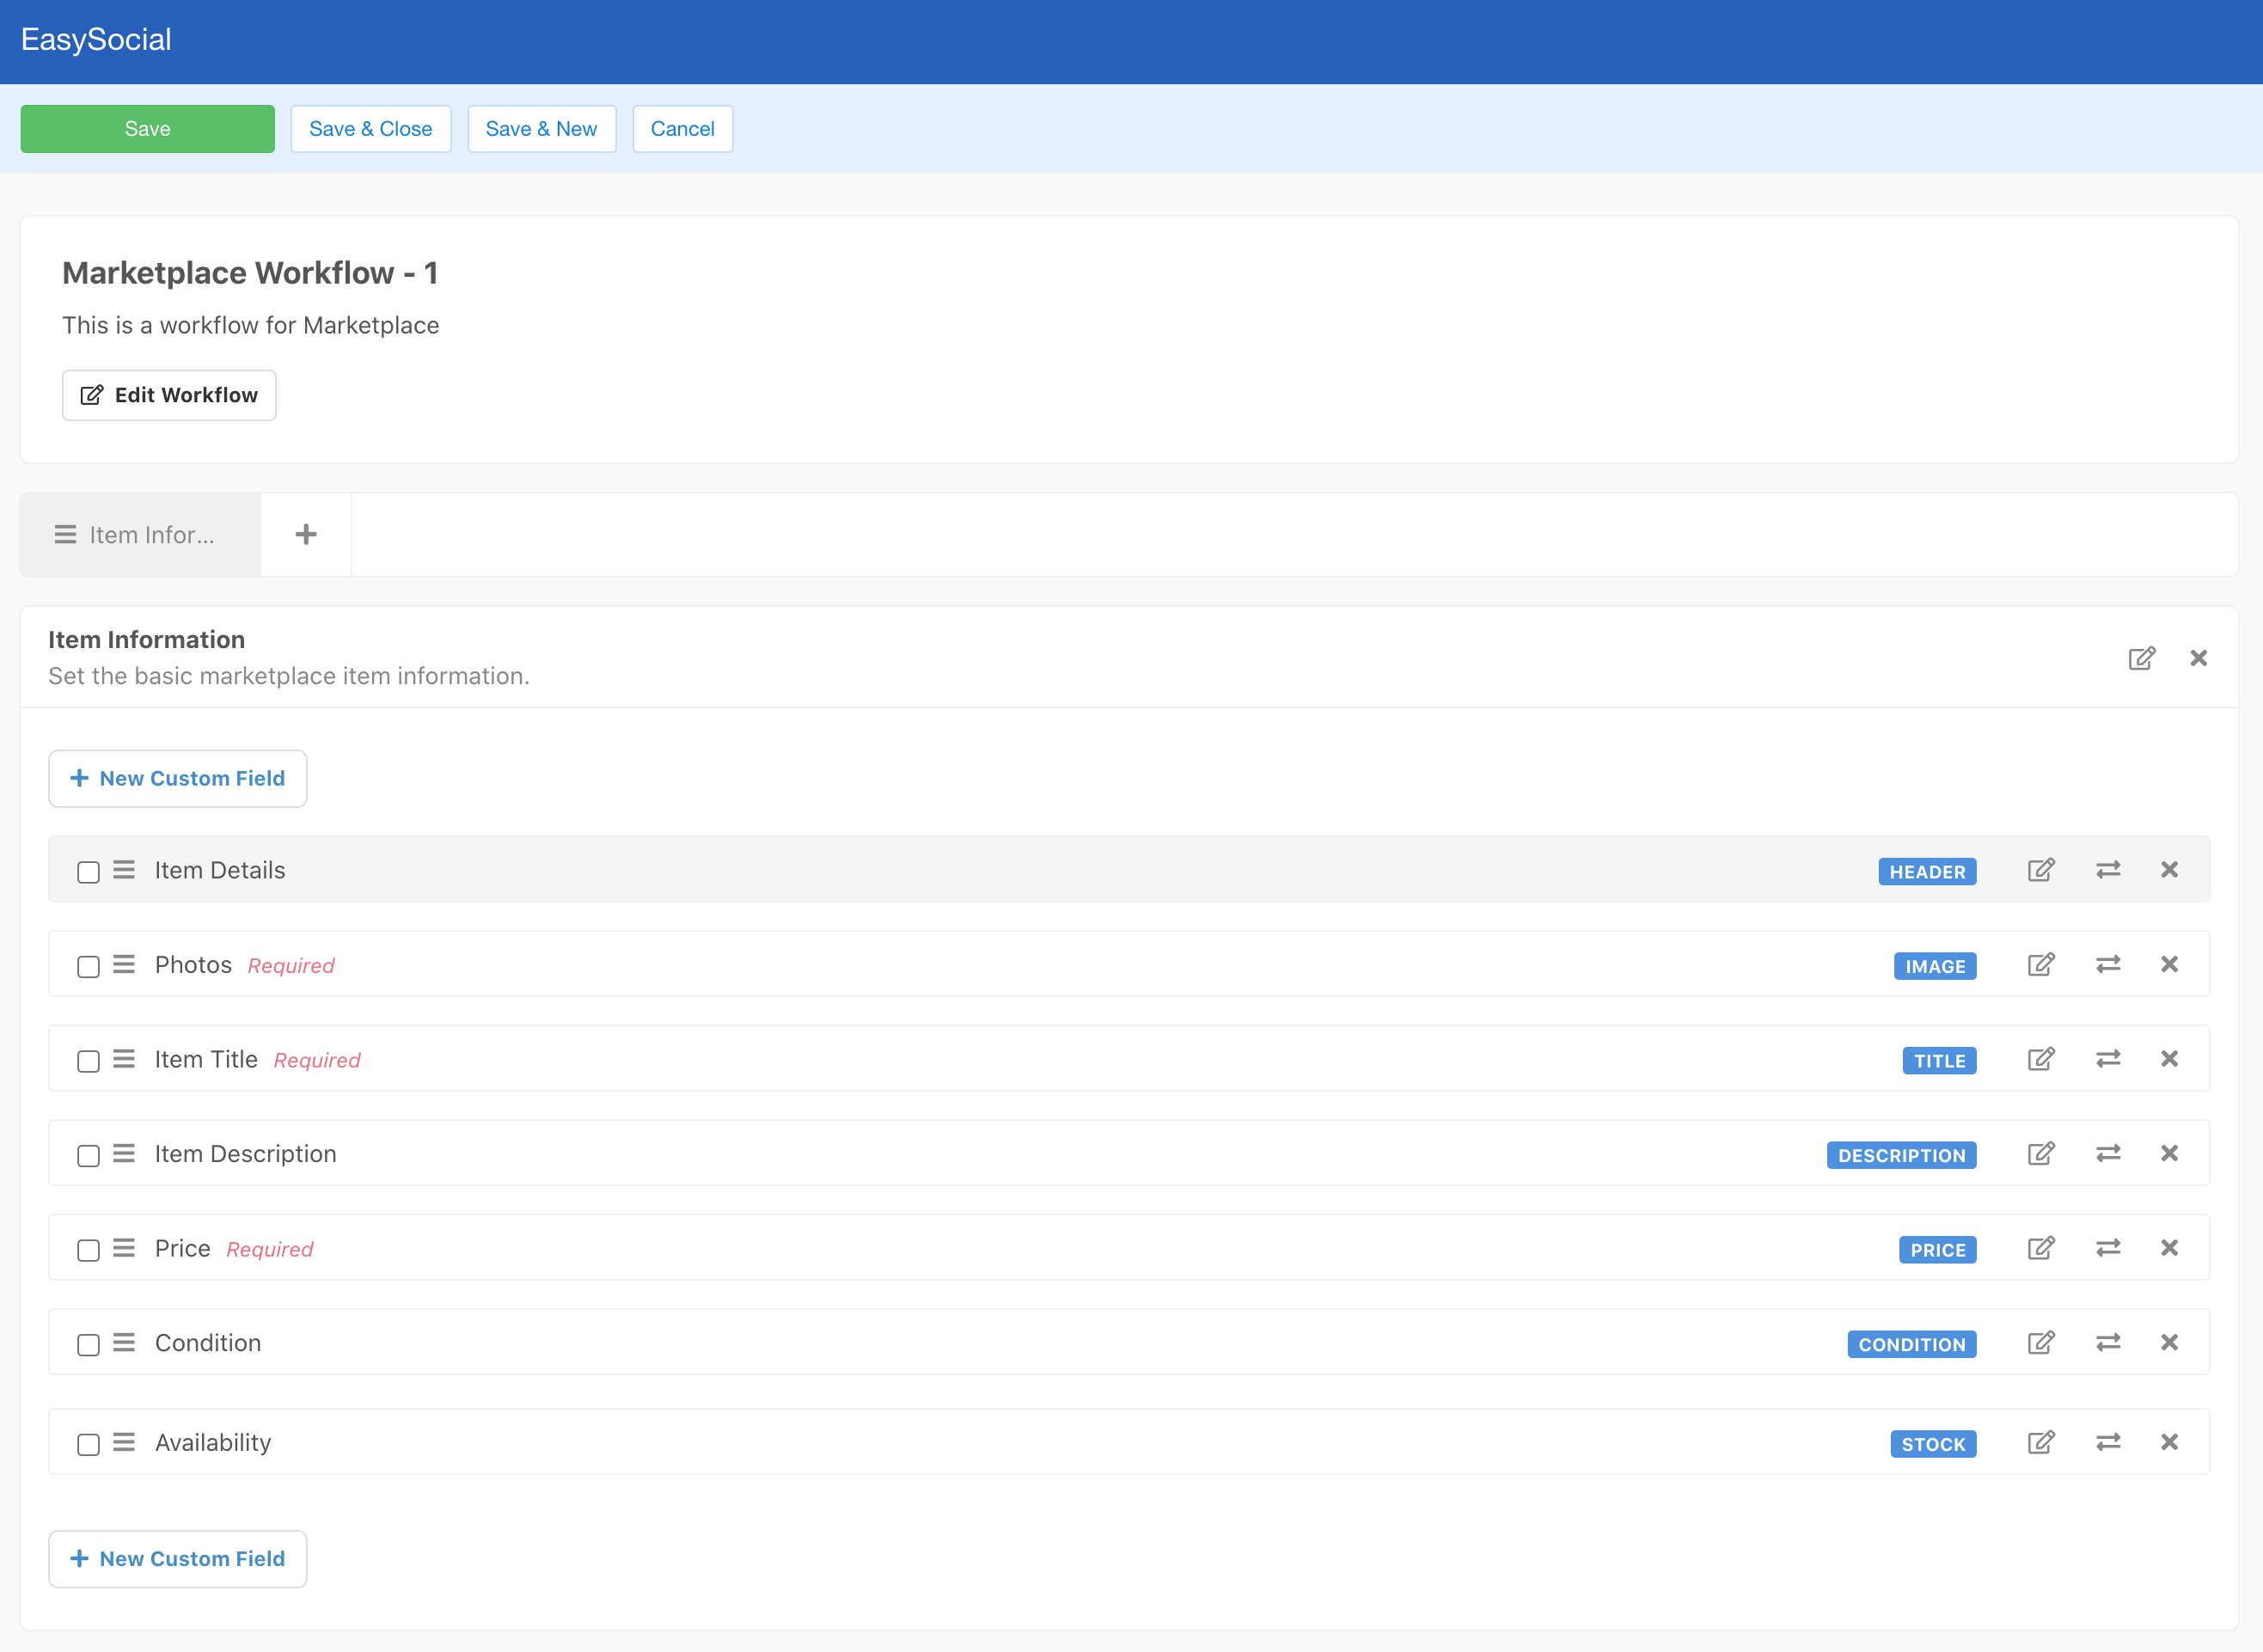
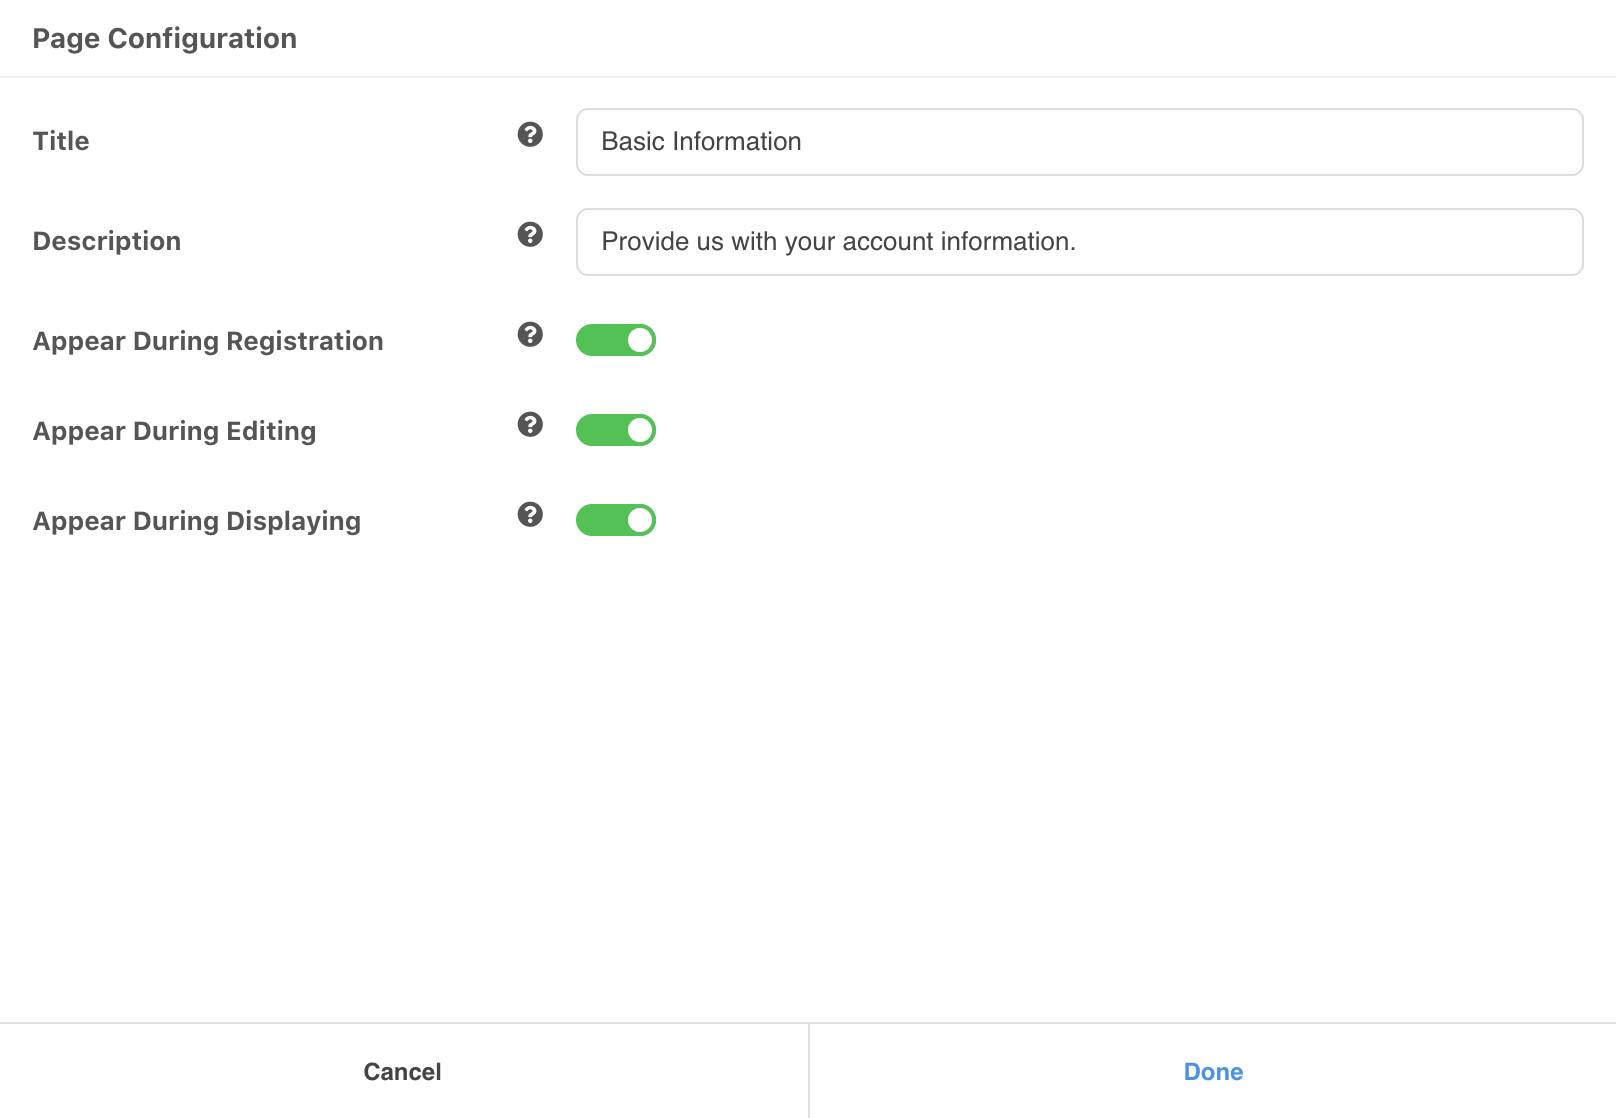
To edit the workflow's step, click on the pencil icon ( ). Add your new workflow step's title and description for the step and click Done.
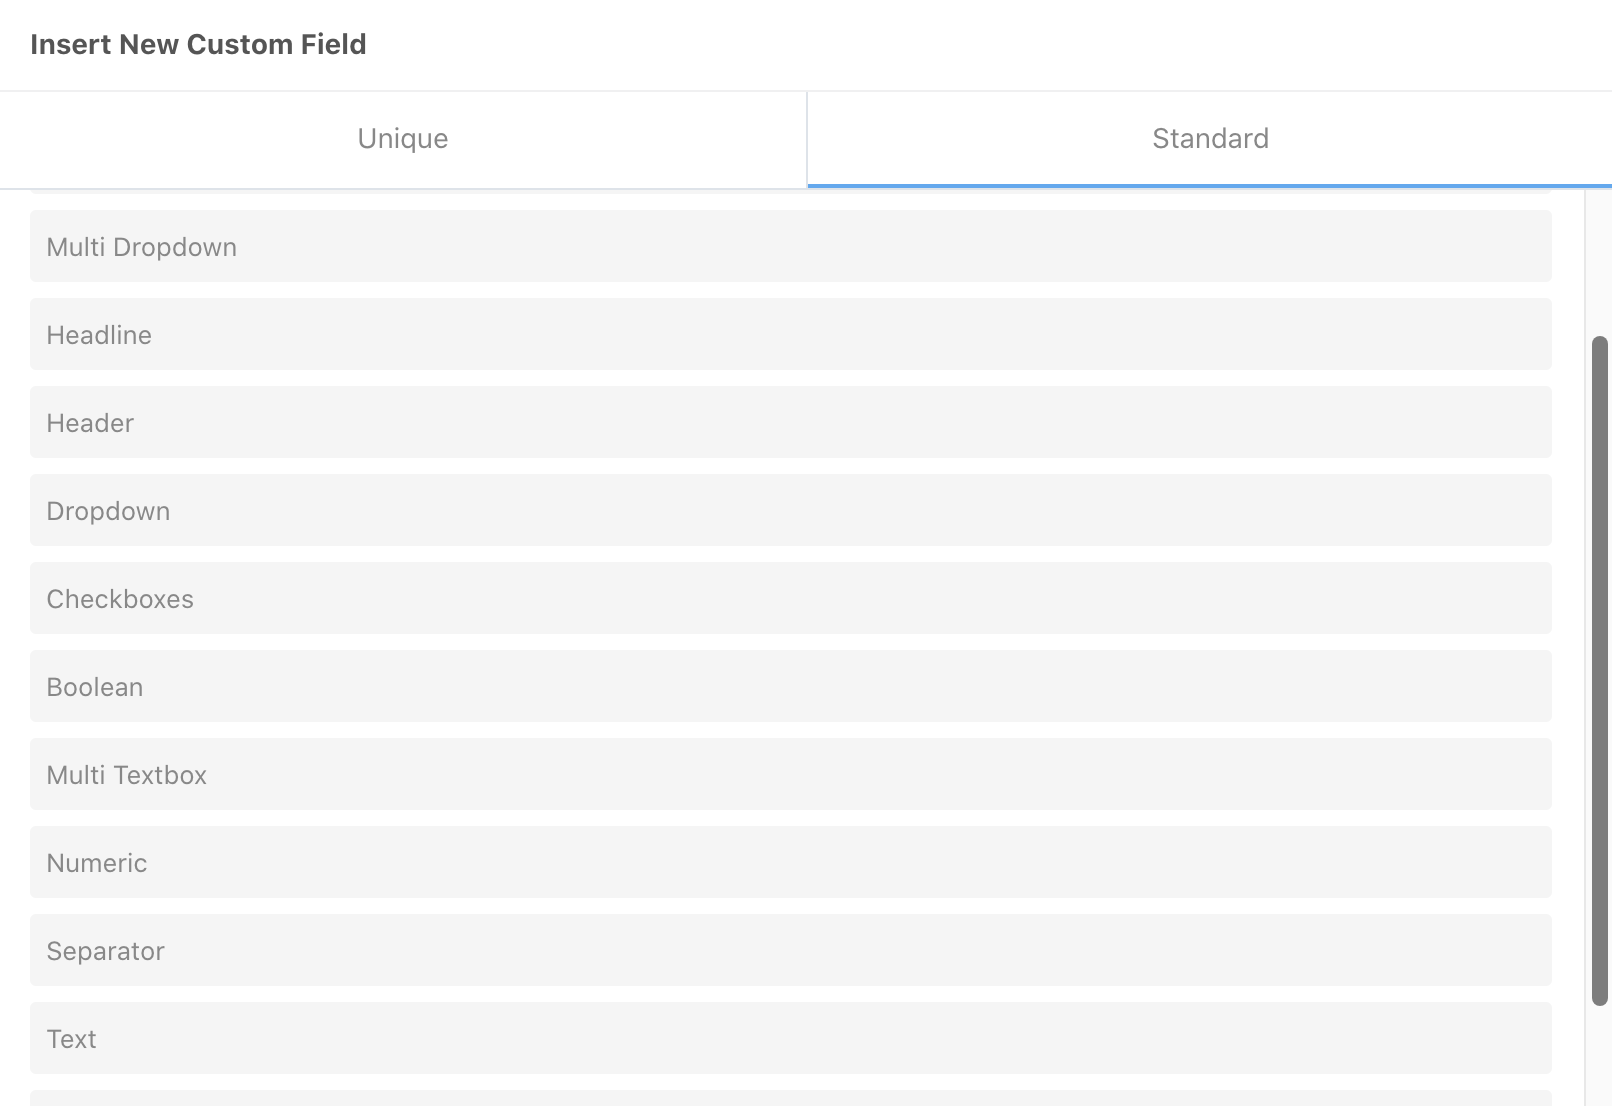
To insert new custom fields, simply click on New Custom Field button. Choose your desired custom fields and click on it. It will then automatically appended top or bottom depending on which new custom field button you're clicking.
Then, click on the pencil icon ( ) on the right of the custom field to edit your newly added field.
Field's Reposition
You may also reposition each of the custom fields whether to display on earlier or later than the other fields. Simply click and drag the hamburger icon ( ) to the desired position.
Move Field To Another Step
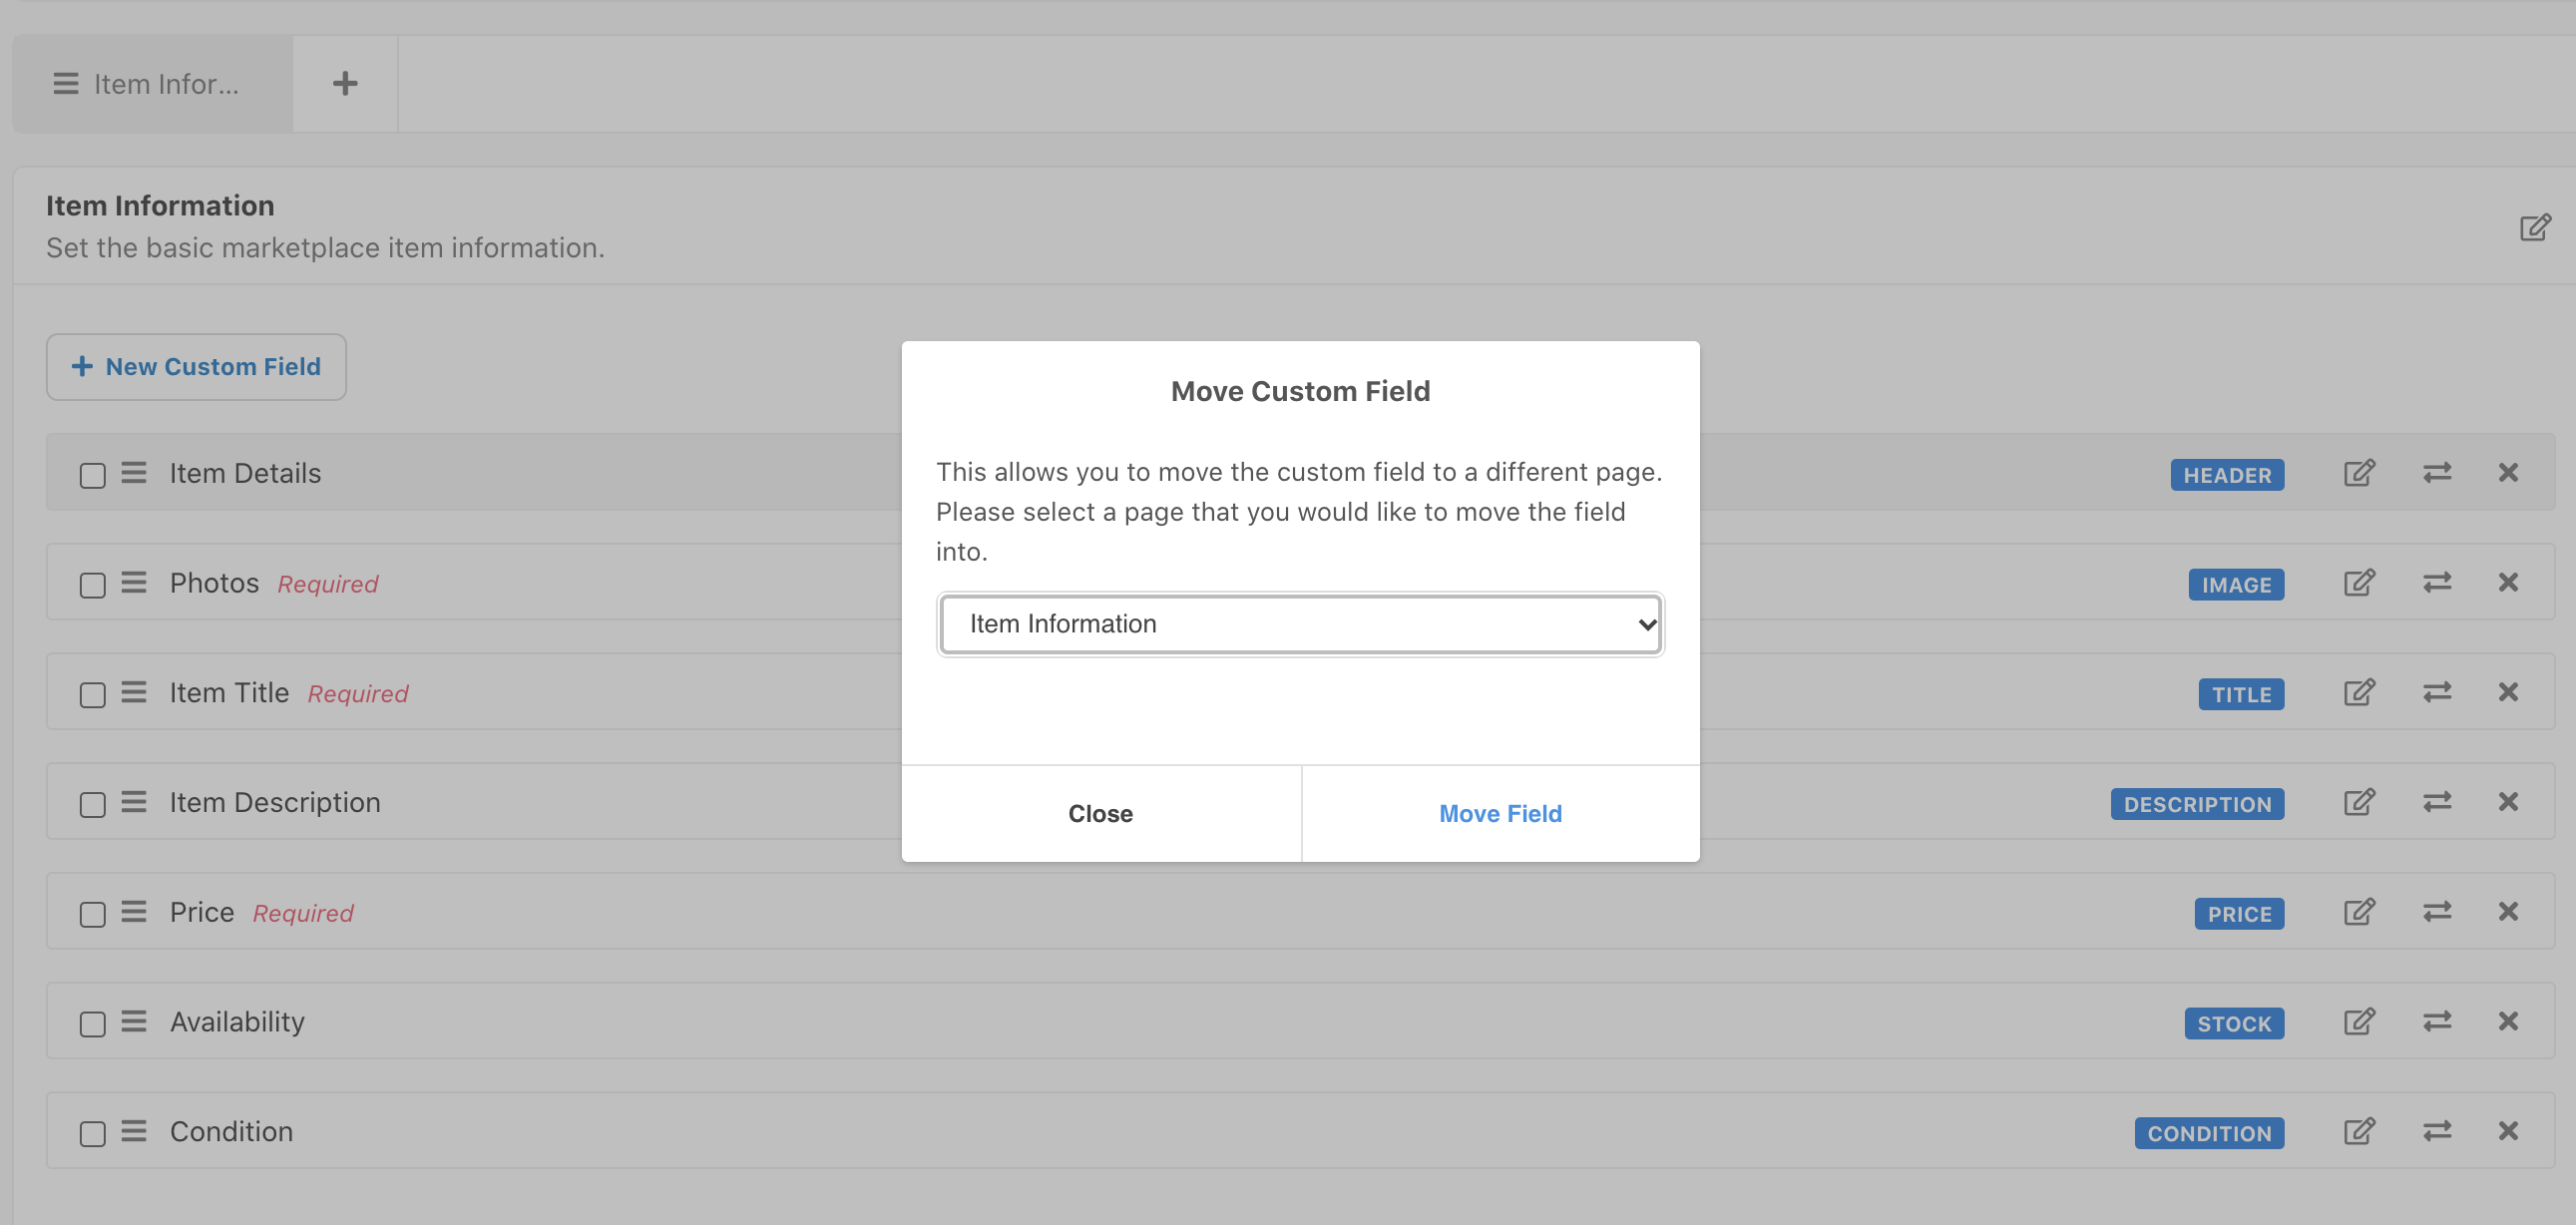
If you've more than 1 steps for your workflow, you can move the custom fields from step 1 to step 2 and vice-versa. To move single custom field, click on the exchange arrow ( ) and choose which steps to be placed.
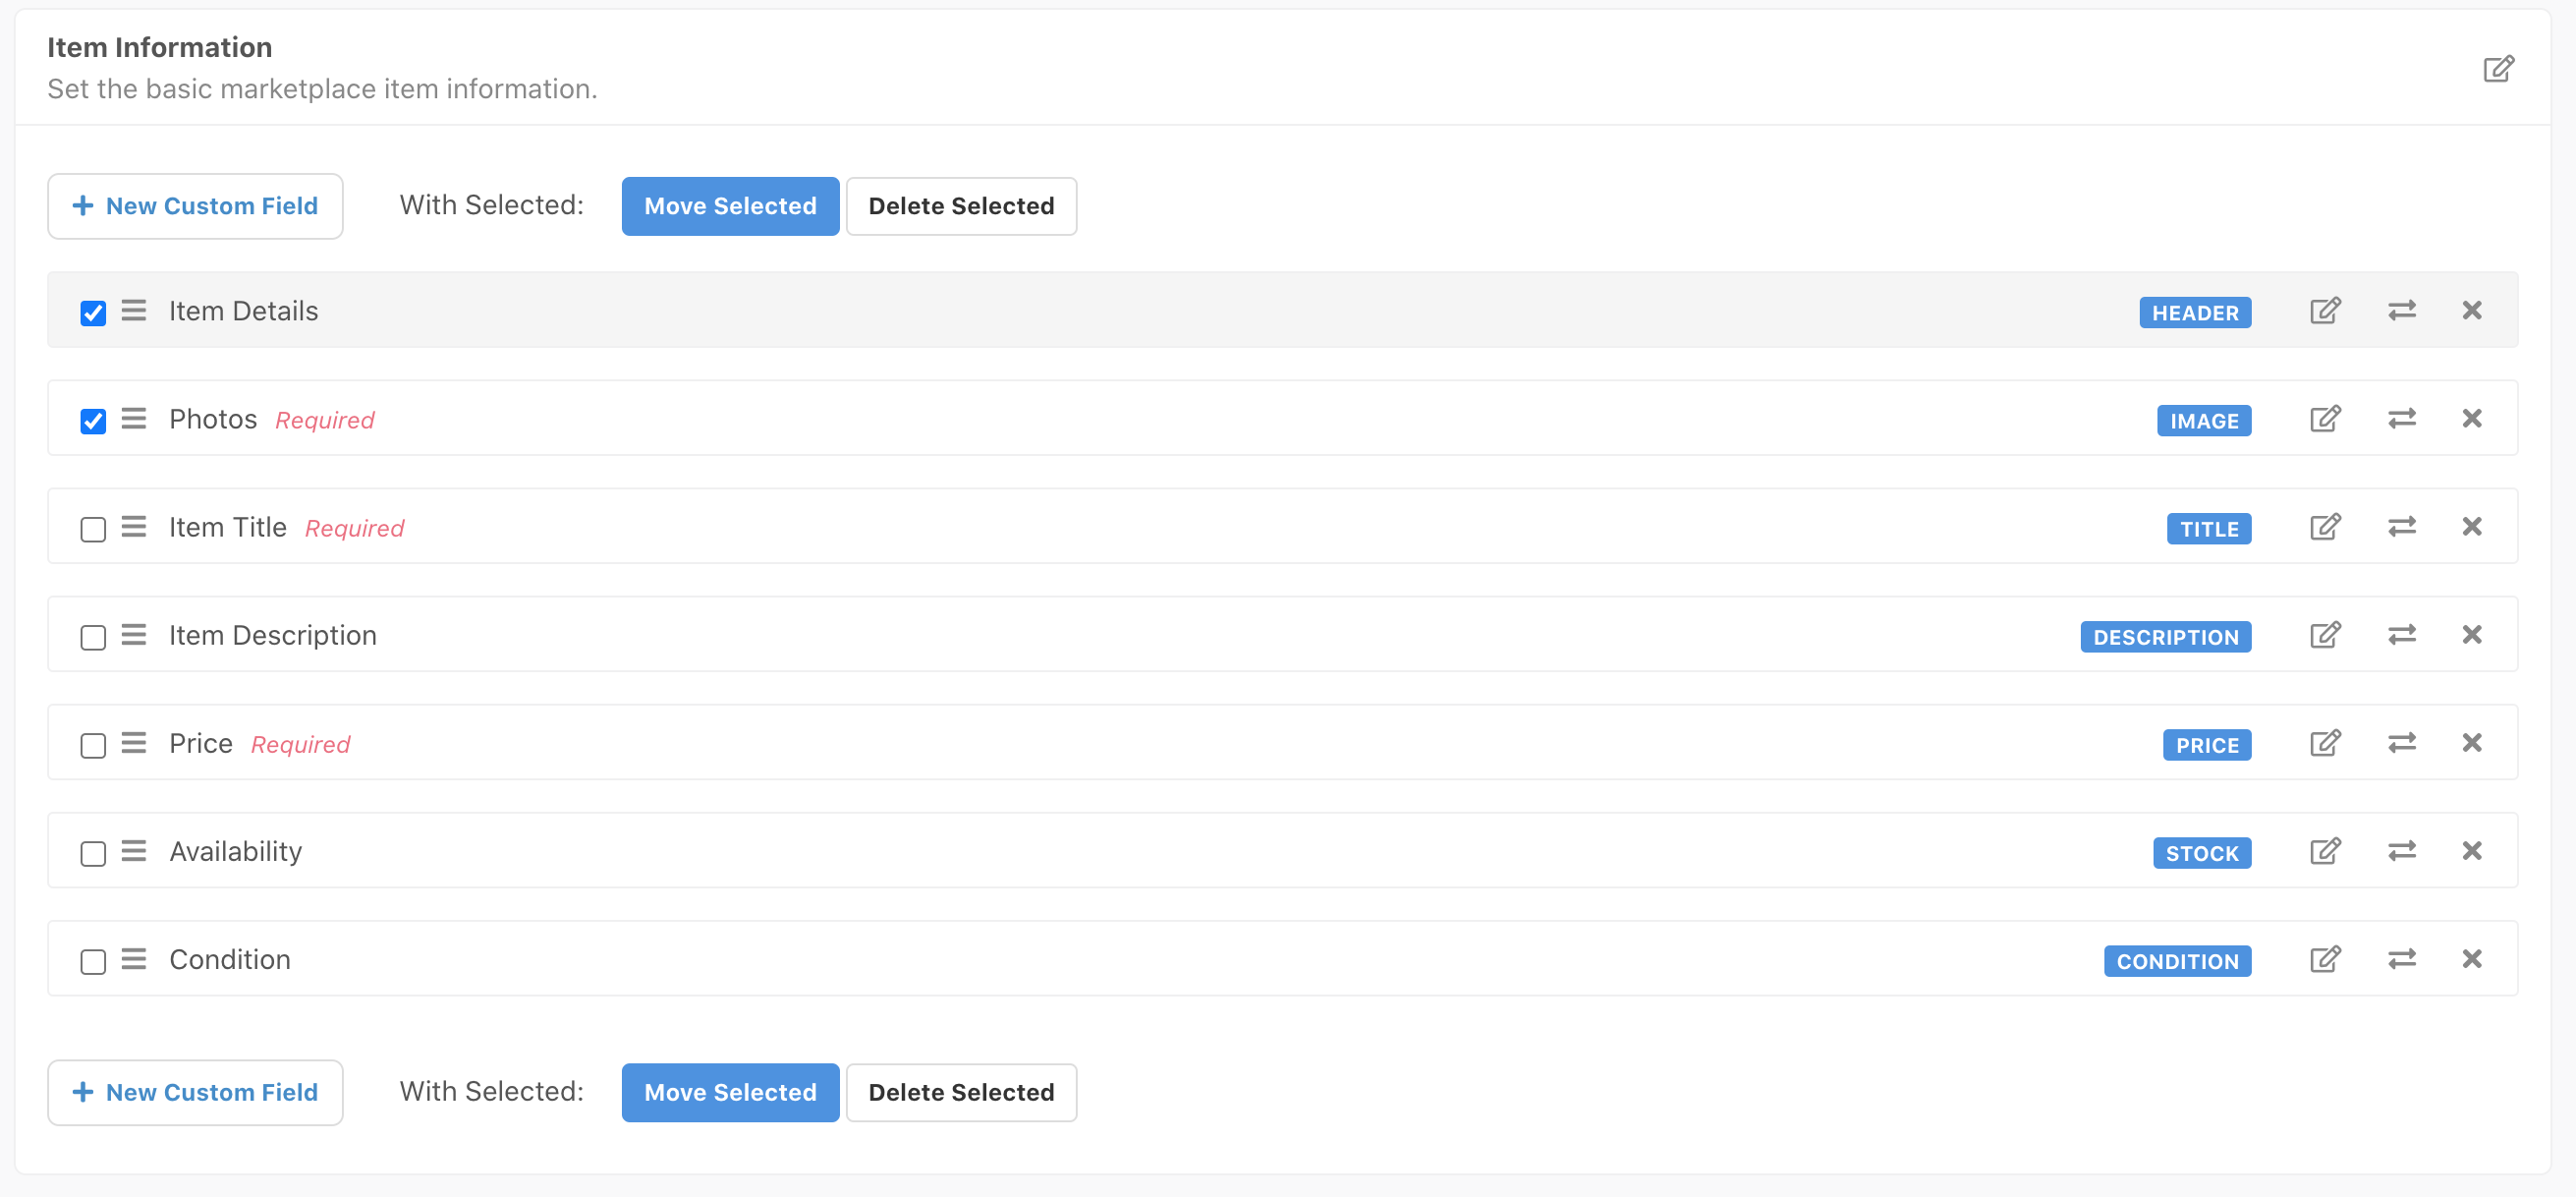
And if you wish to move multiple custom fields, simply click on the checkboxes beside the fields and click Move Selected button which will be appeared on the top of the field's list.
Delete Fields
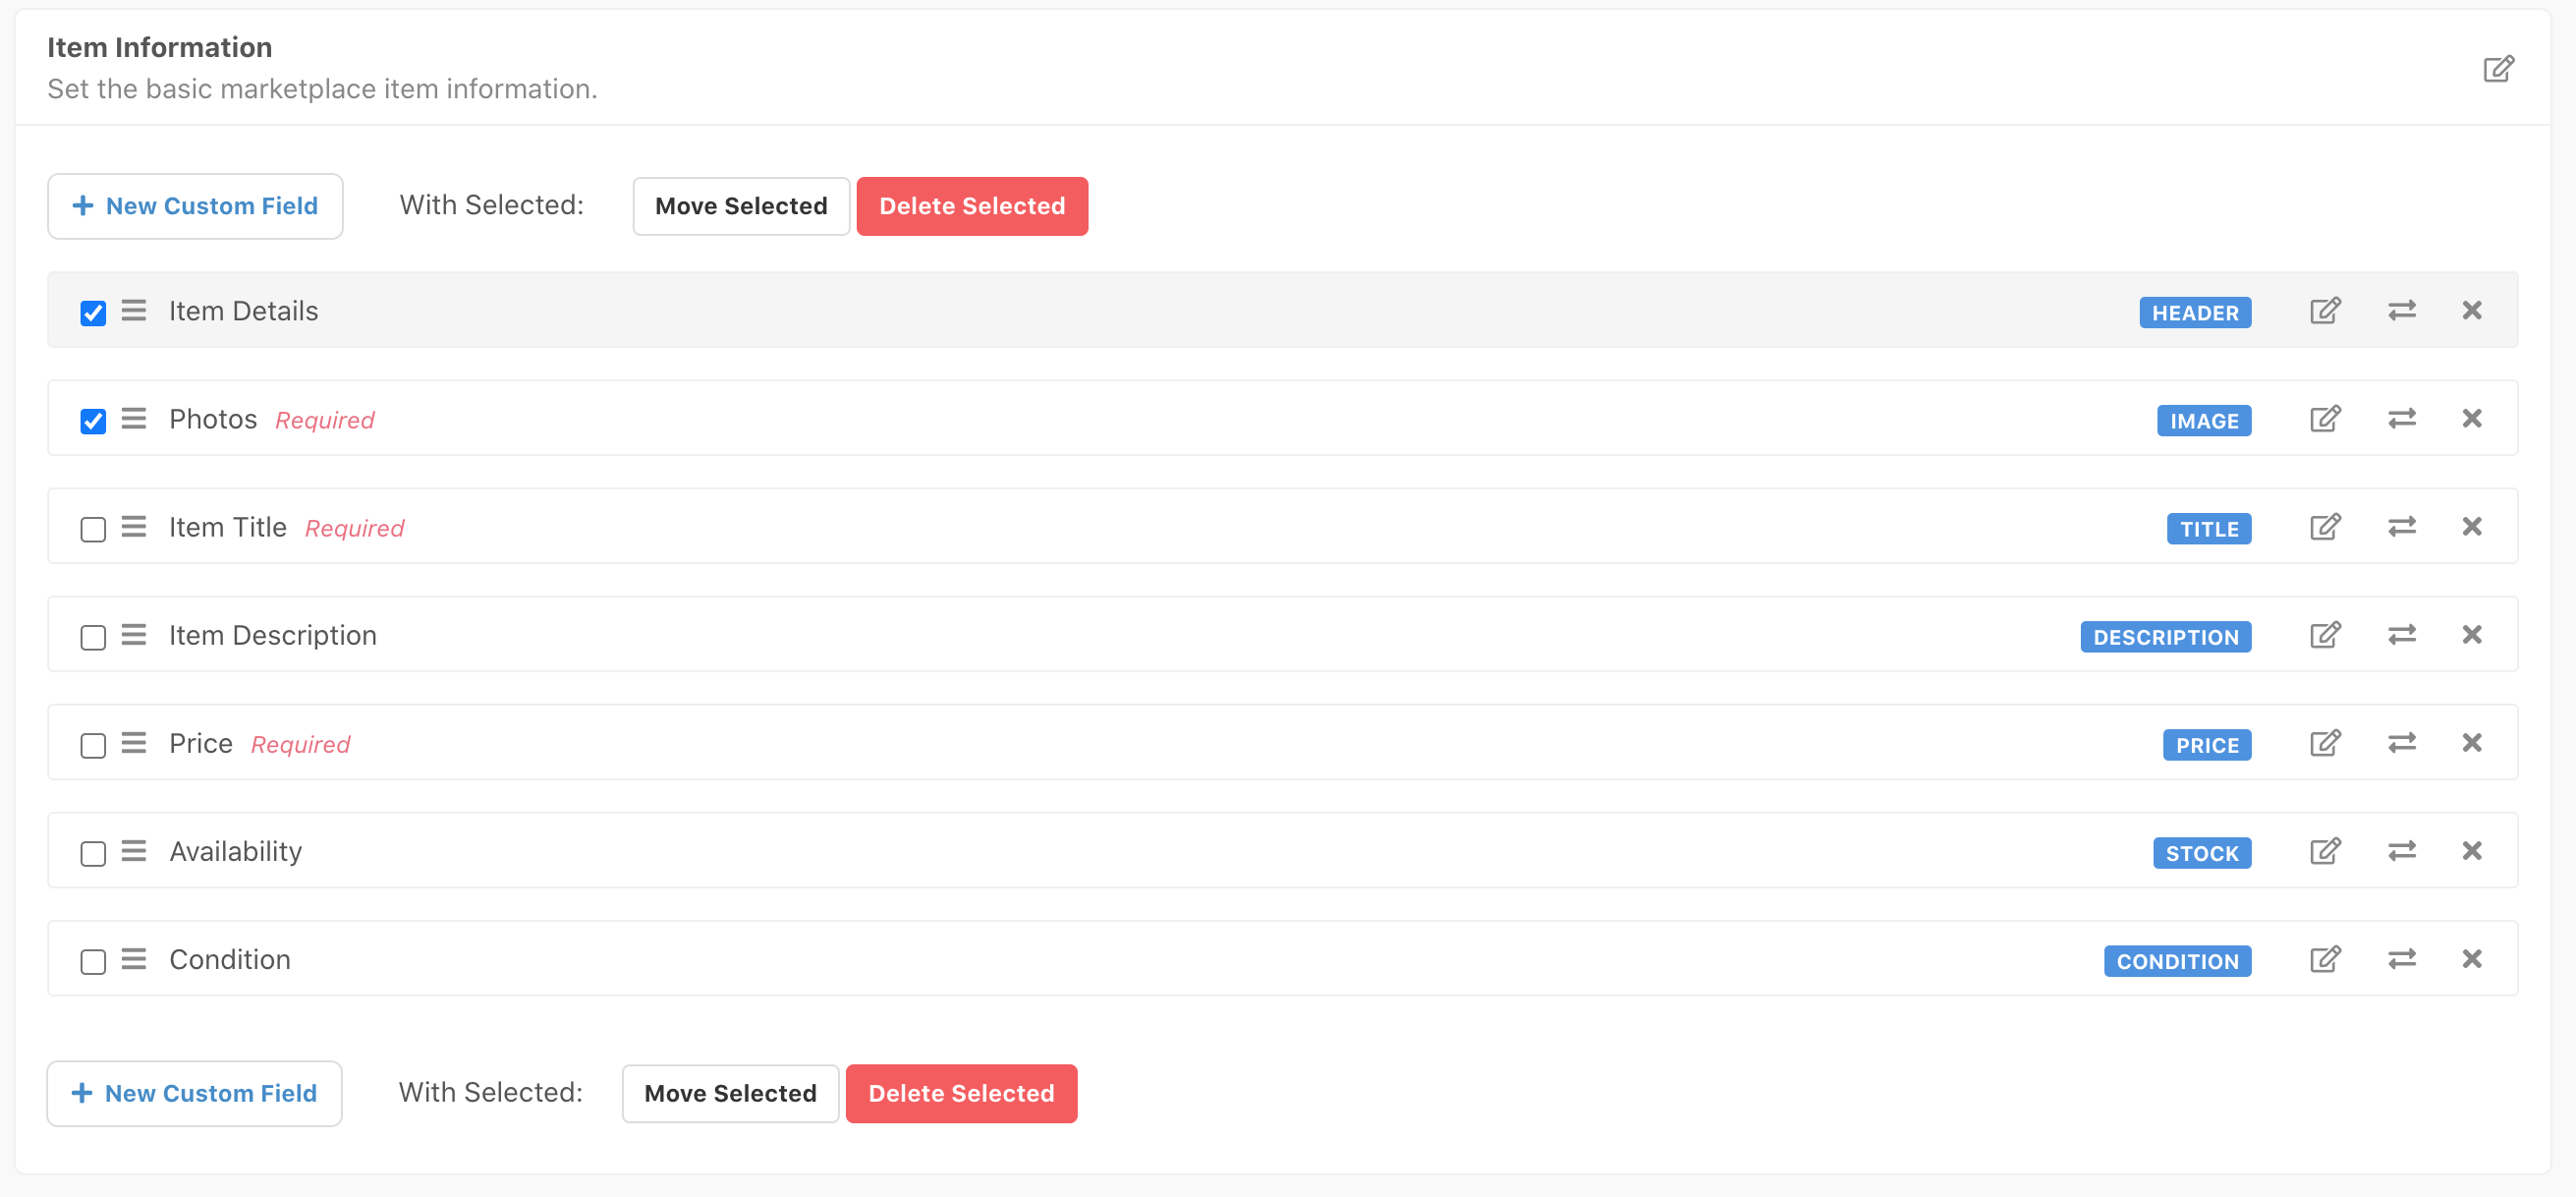
Deleting fields can be done by clicking on the times icon ( ) or multiple fields deletion by clicking the checkboxes and click Delete Selected.
Once everything was done, click on Save button to store all your changes.
