In order for you to retrieve Facebook App Id, you'll first need an app. For EasyDiscuss, we'll be using Facebook Login app. Please read through Facebook App Development documentation for more information.
Facebook Application Configuration
In this documentation we'll guide you through Facebook Application Configuration. Please take note that you're only allowed to create an application using your own profile account. Other Facebook account type are not permissible to create application on Facebook.
Login To Facebook
Before start creating an app, you'll first need to login to your Facebook account.
You may skip this step if you've already own a Facebook Developer account.
You'll need a Facebook developer account to get started. If you do not yet have a Facebook developmer account, you may actually upgrade your personal Facebook account to Facebook developer accountl Click here to create developer account.
Creating Facebook App
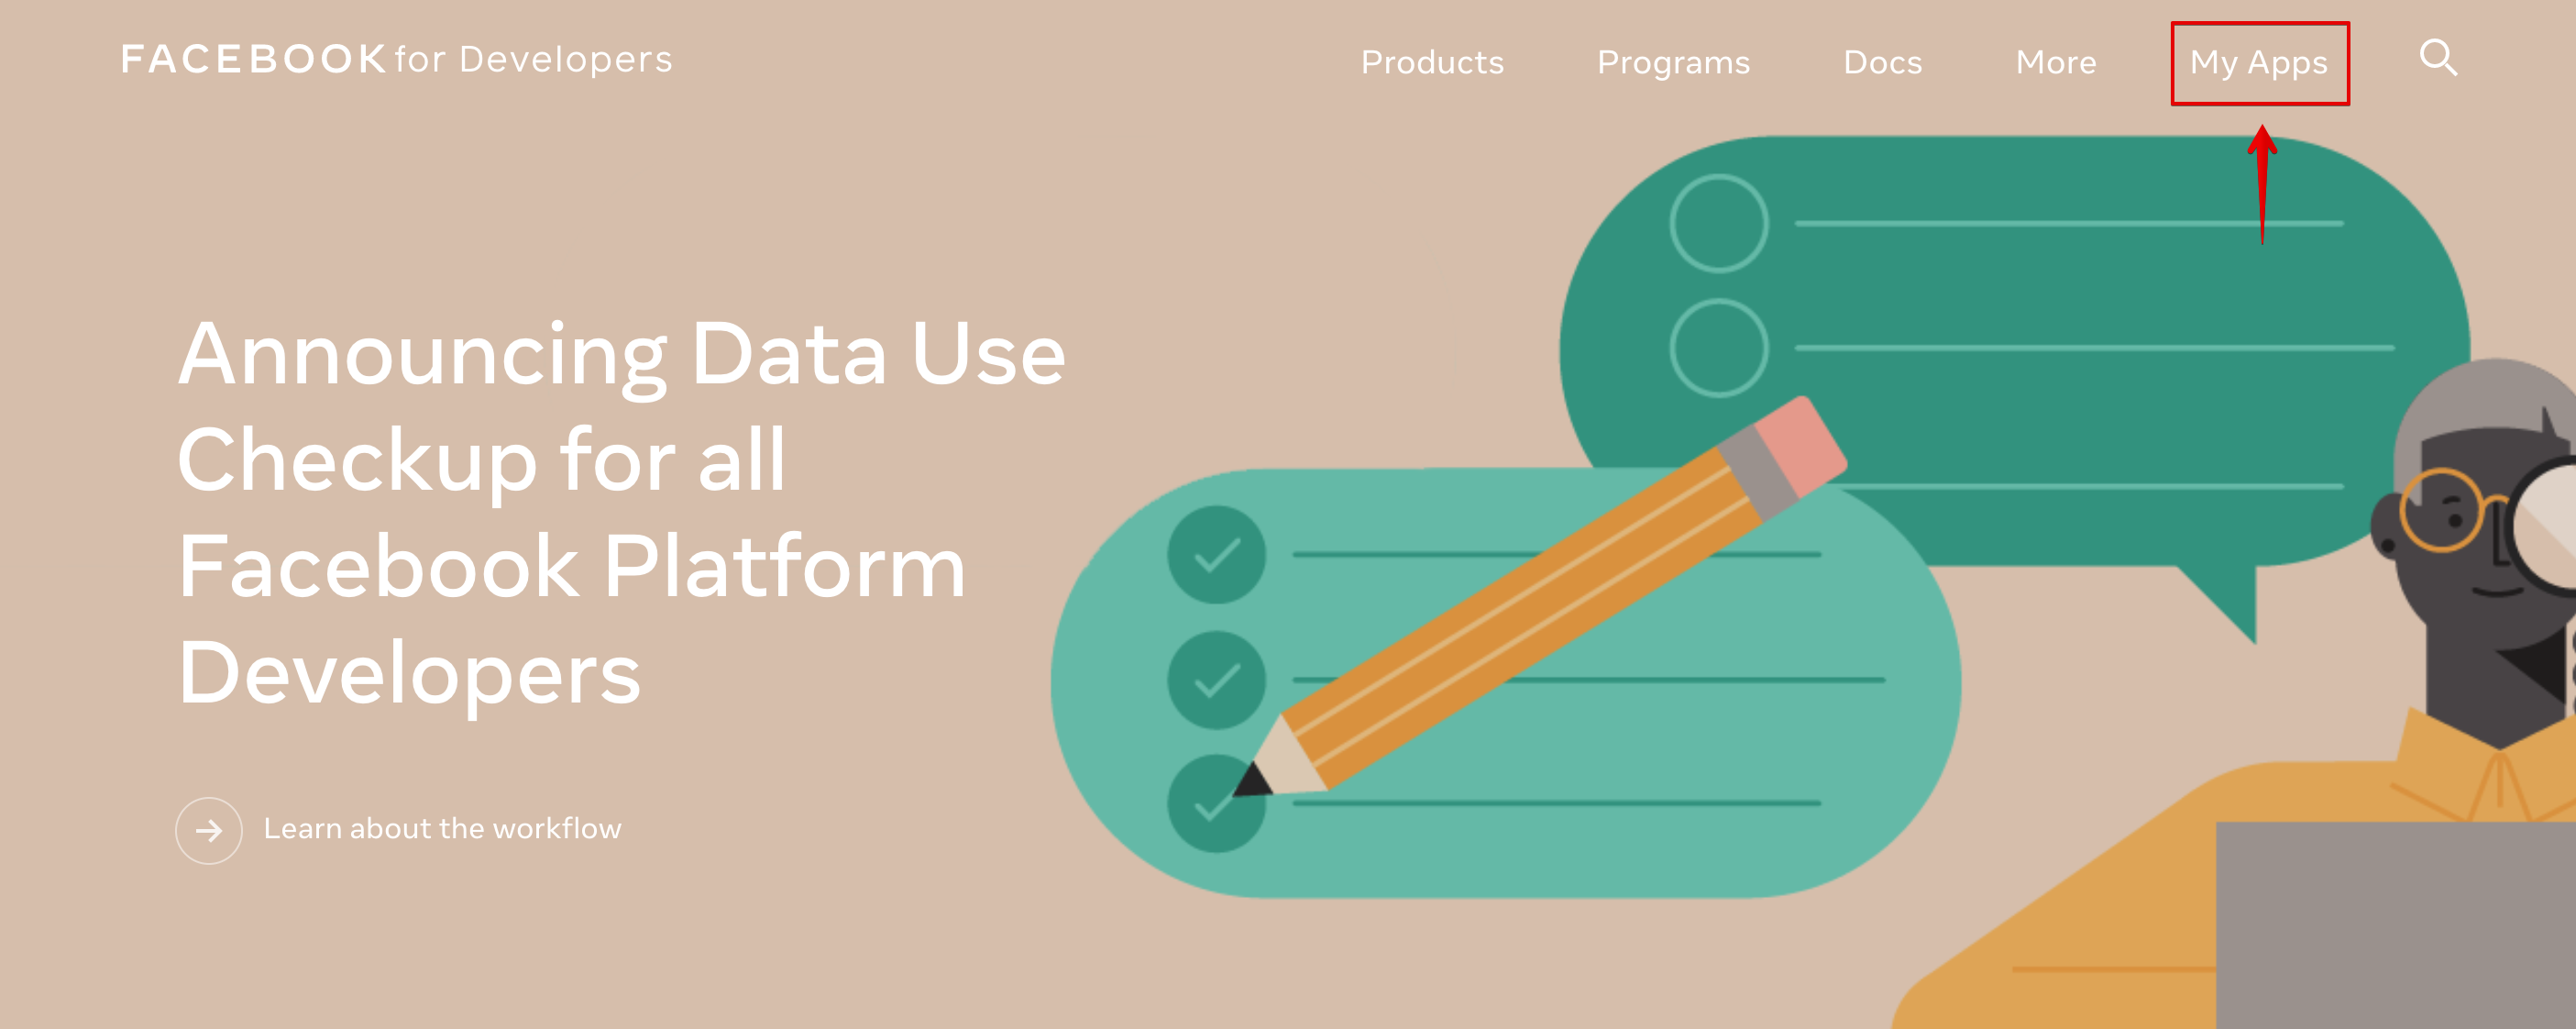
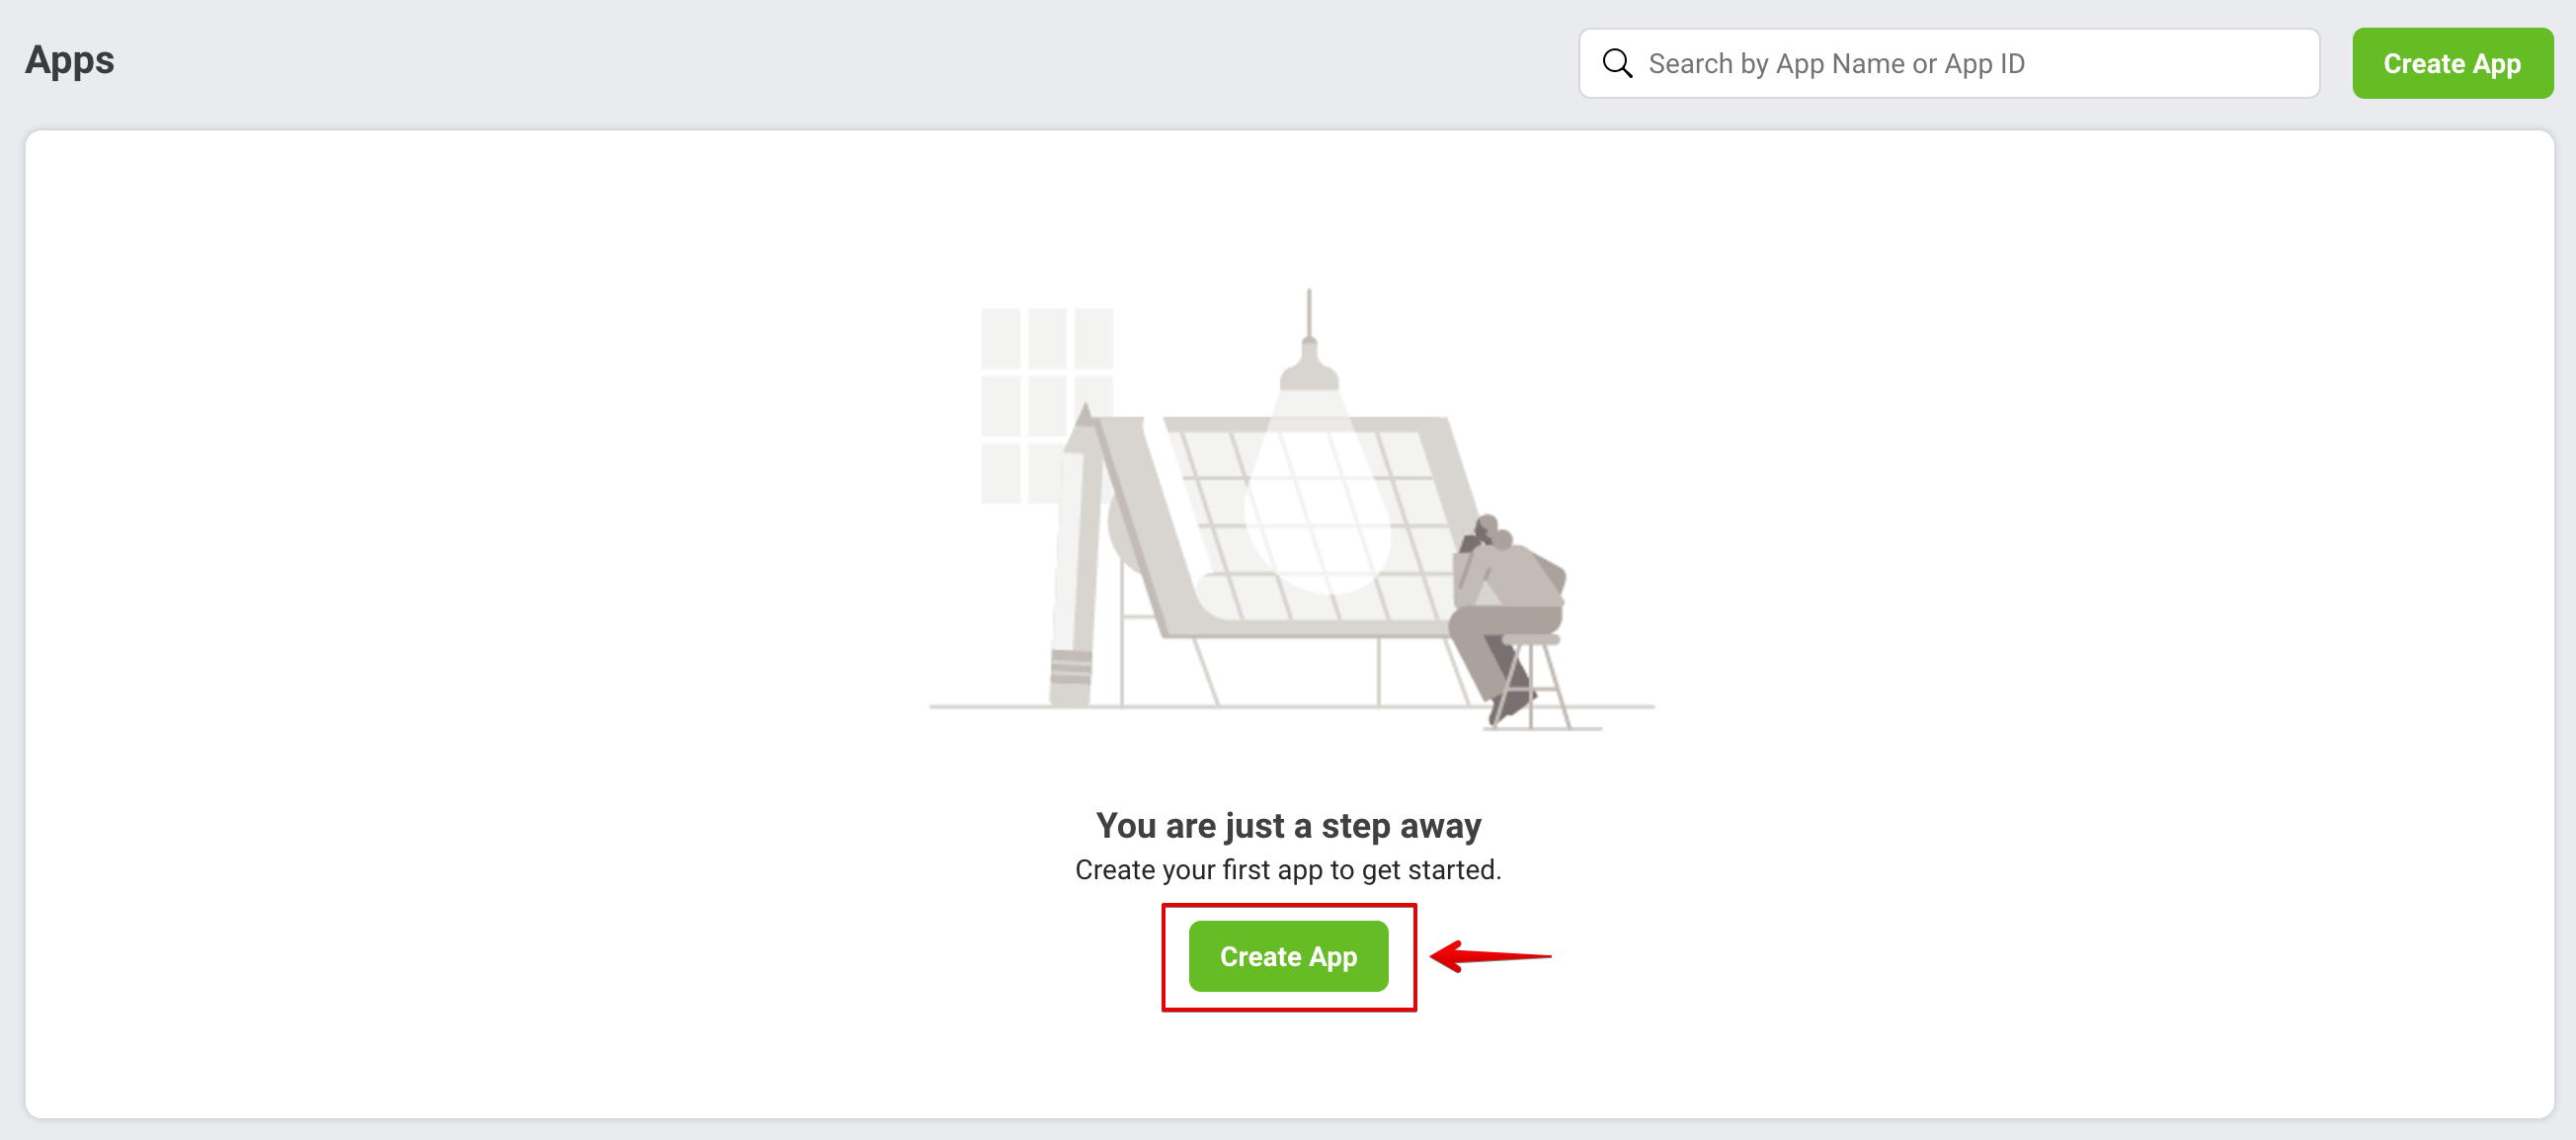
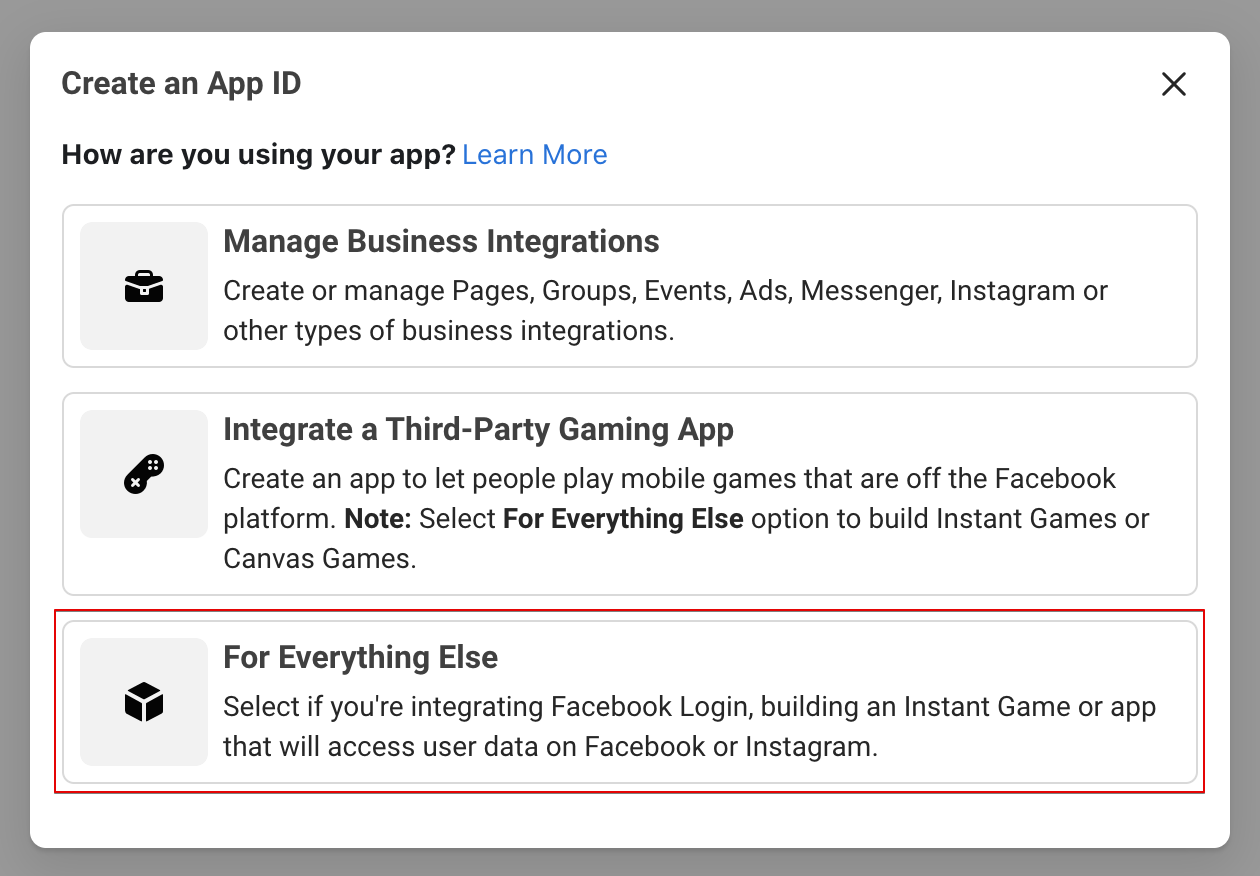
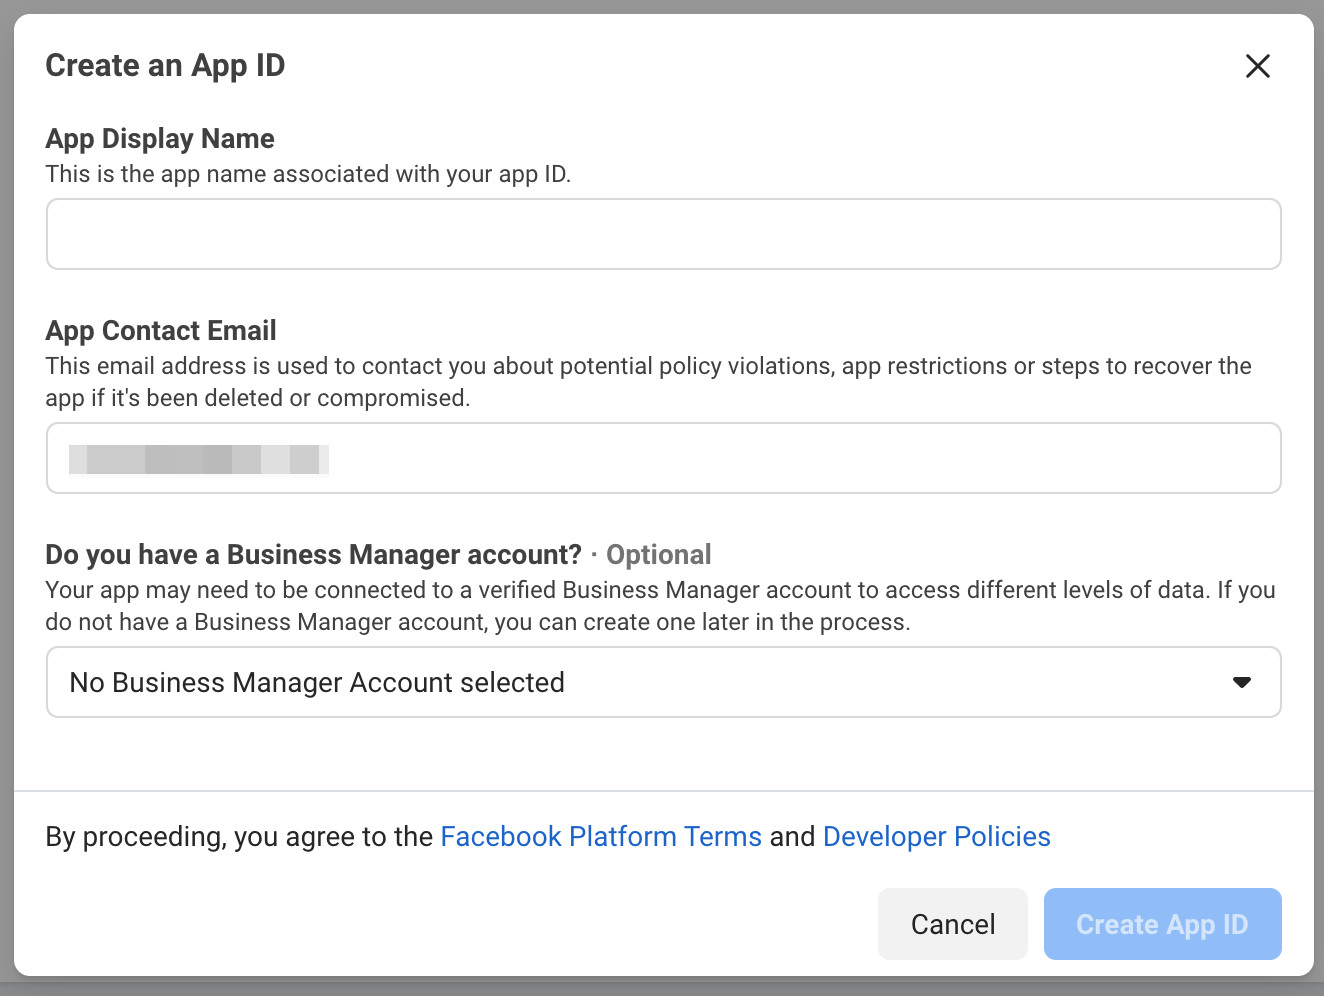
Once logged-in, click on Create App or My App button located at the top-right of the navigation bar. Fill in the necessary information, then, click on Create App ID button to continue.
You'll be presented with a security check to ensure you're human.
Setting Up The Application
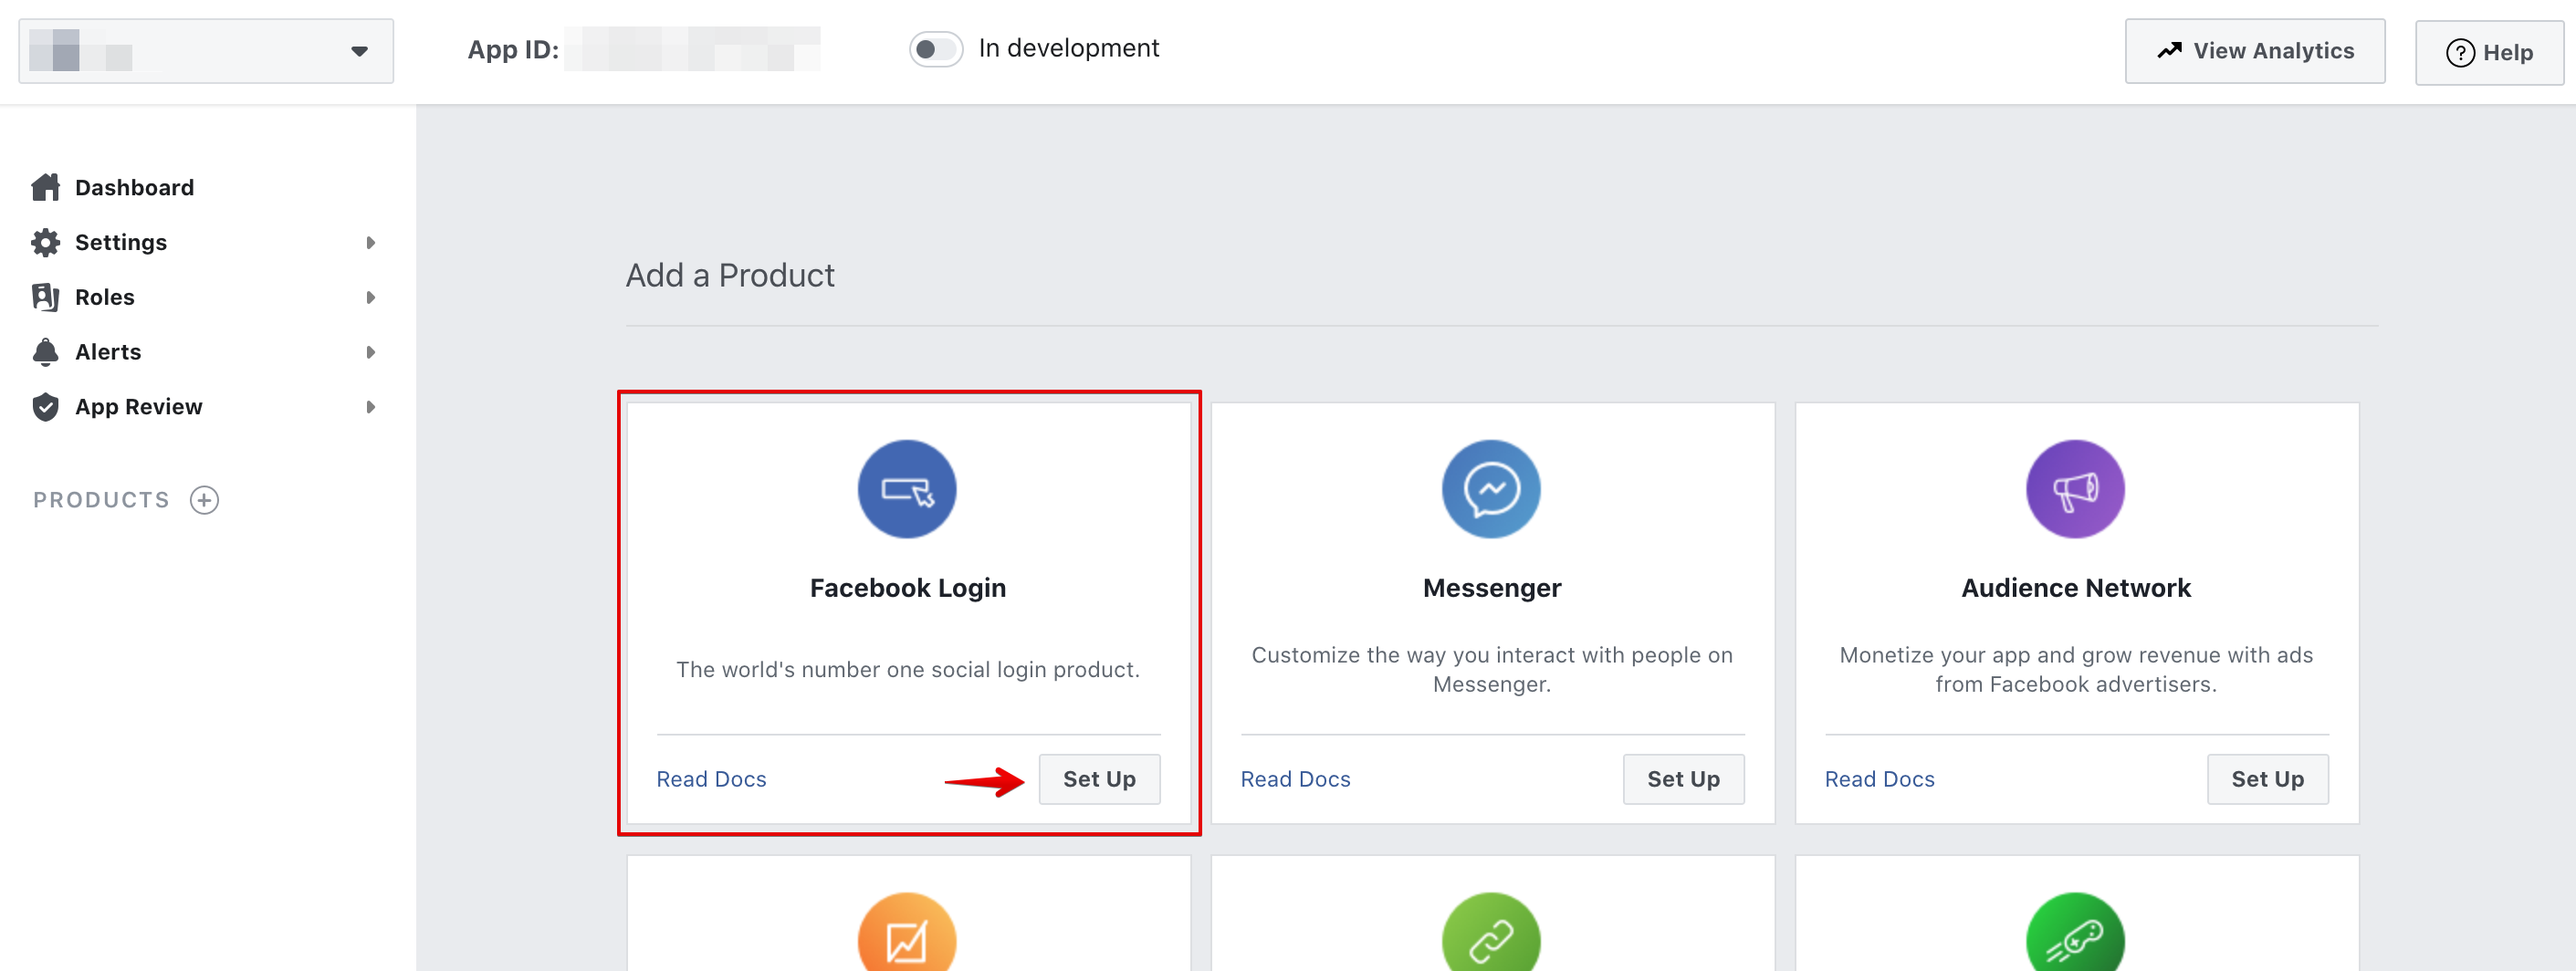
After creating the app, you should be taken to product page. You'll need to chose a product to be associated with your app. We'll be using Facebook Login product for this app. Click on Set Up button to continue.
Choose a platform for your app. We'll ne using Web platform.
Enter the Site URL in the provided form. THis must be a valid URL to your site. Click Save button to store the URL.
You may skip the next steps as we've implemented it in EasyDiscuss.
Furnishing The Application Details
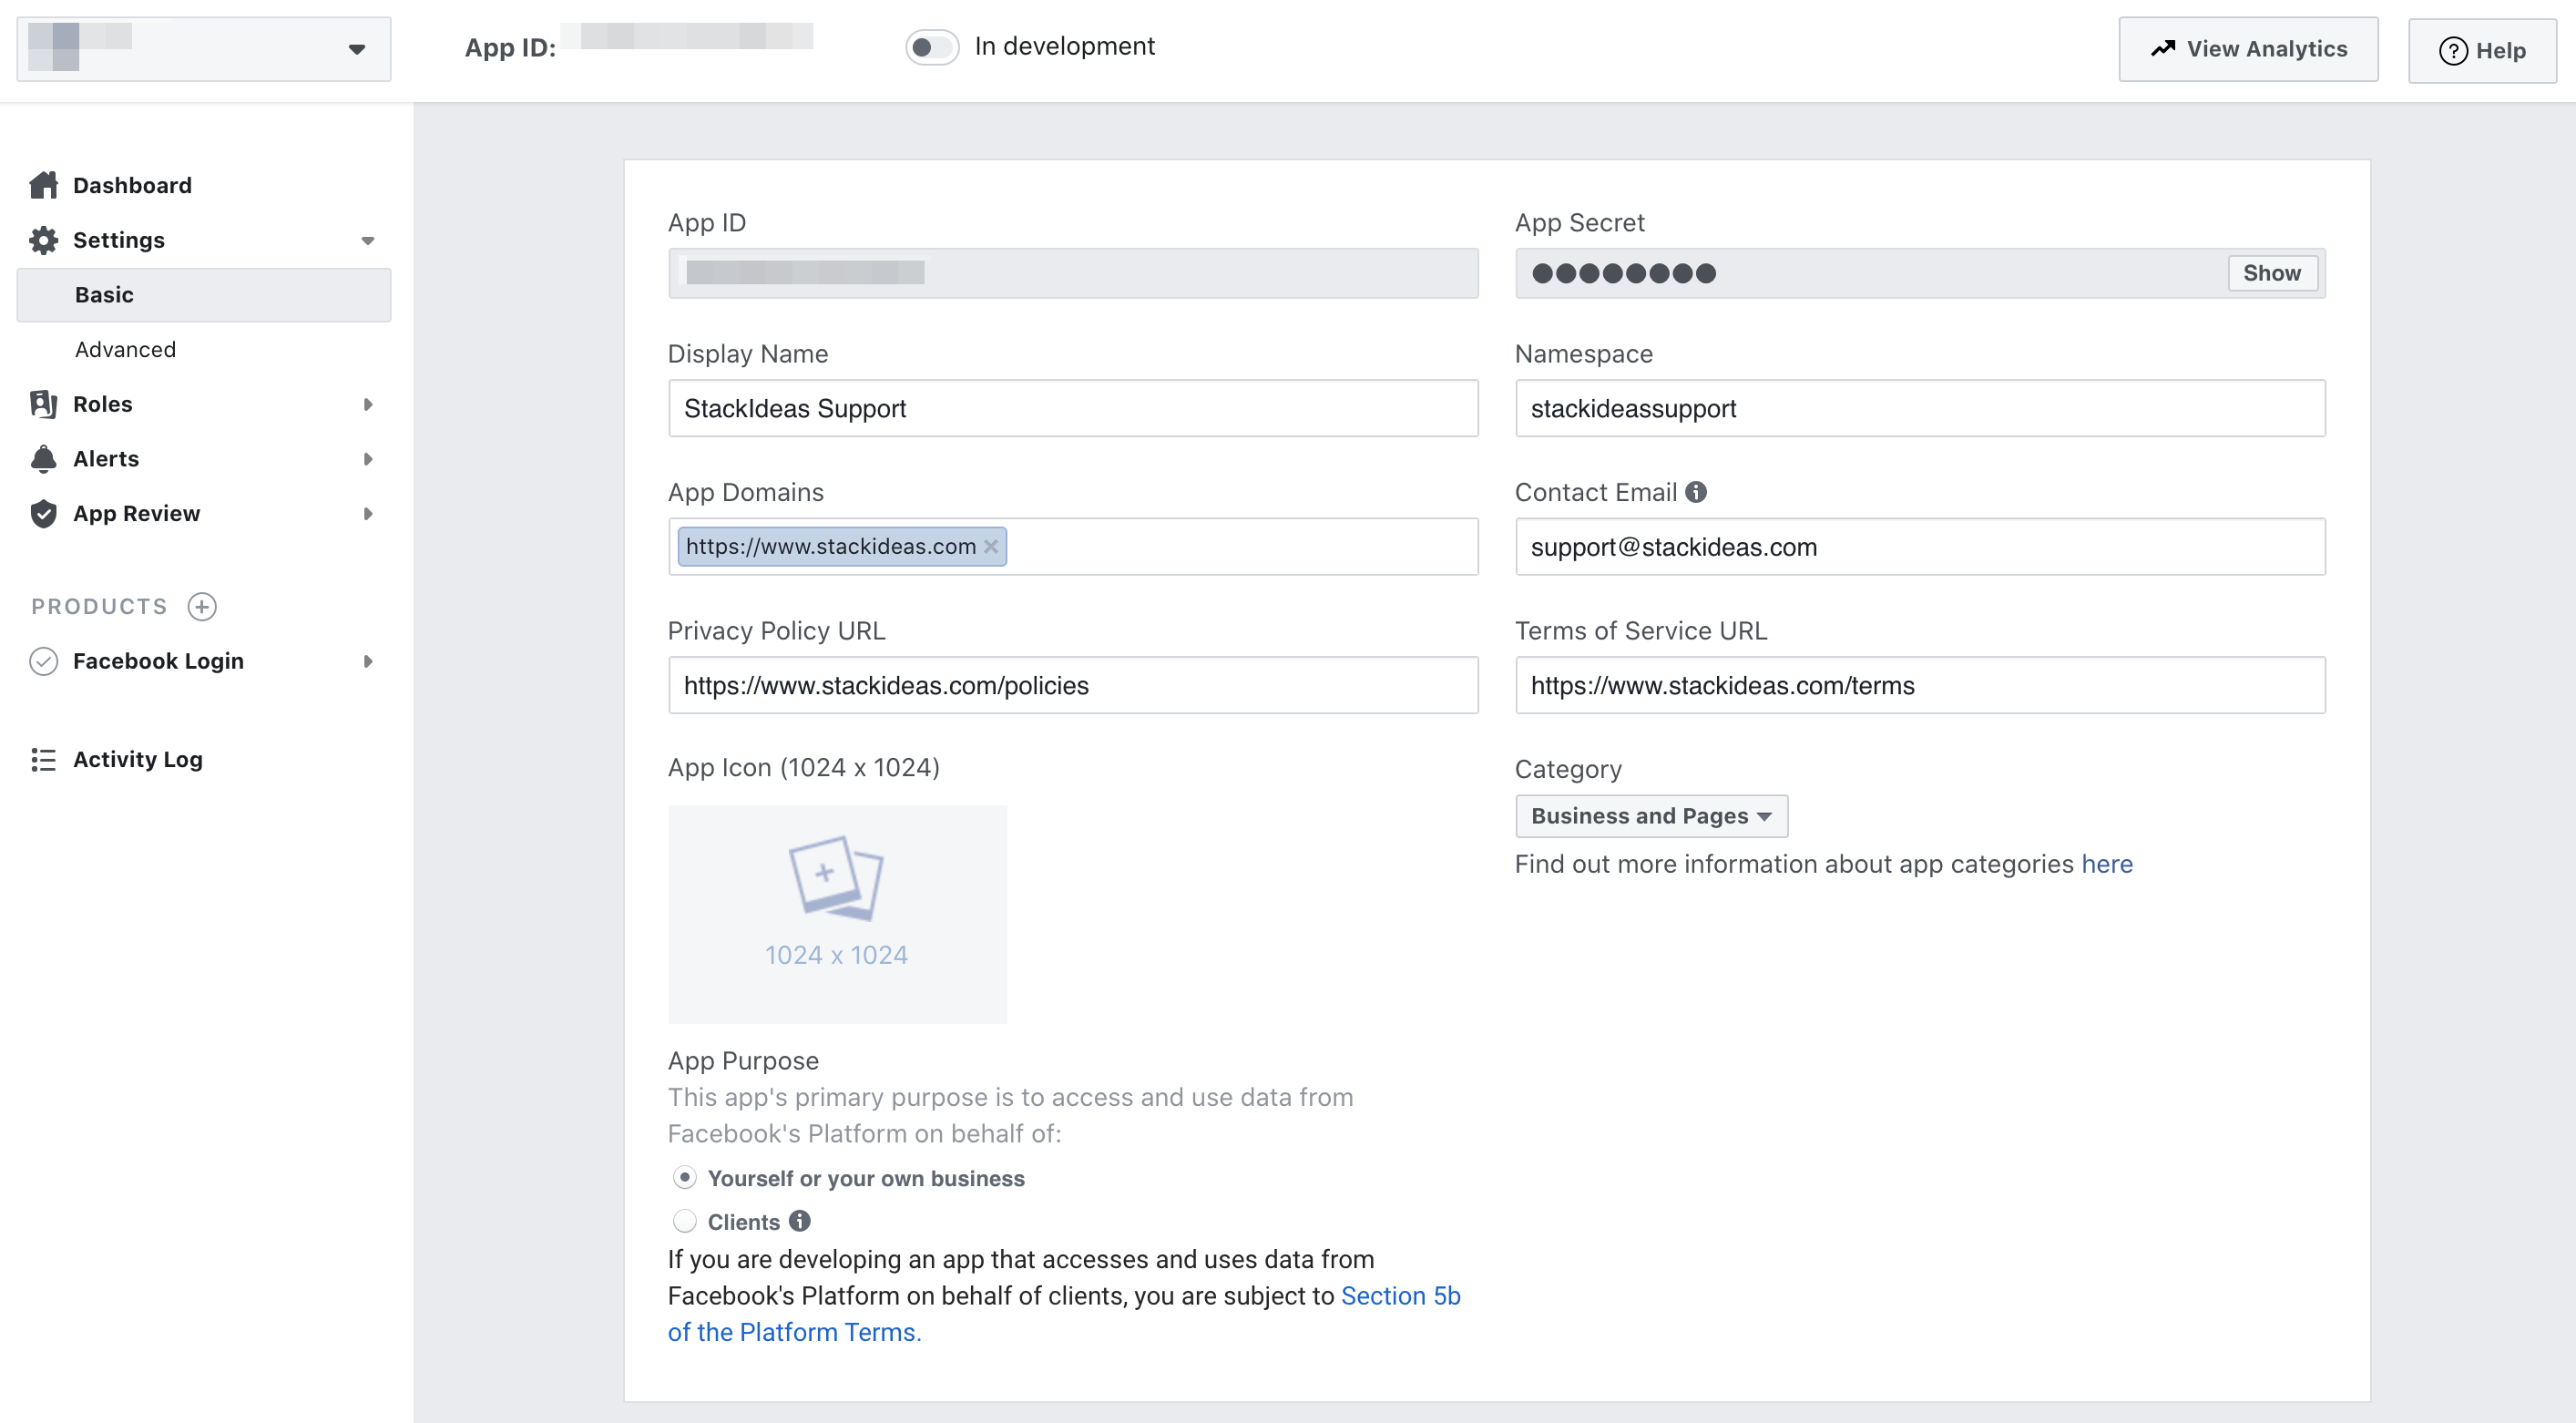
Navigate to Settings > Basic tab on the left. On this tab, you may get the App ID required to configure EasyDiscuss integration.
In particular, it is important that you fill in the following information. Namespace, App Domains and Category are important for Facebook App to be working correctly. Optionally, you may fill in the Privacy Policy URL, Terms of Service URL and App Icon if available to make the app looks professional. Click the Save Changes button to store these information.
Advanced Settings (Optional)
You may skip this step if you wish. Please refer to Facebook Developer Documentation for more information.
App Restrictions
You may restrict your app to specific age range and countries if your site references alcohol or an adult nature site.
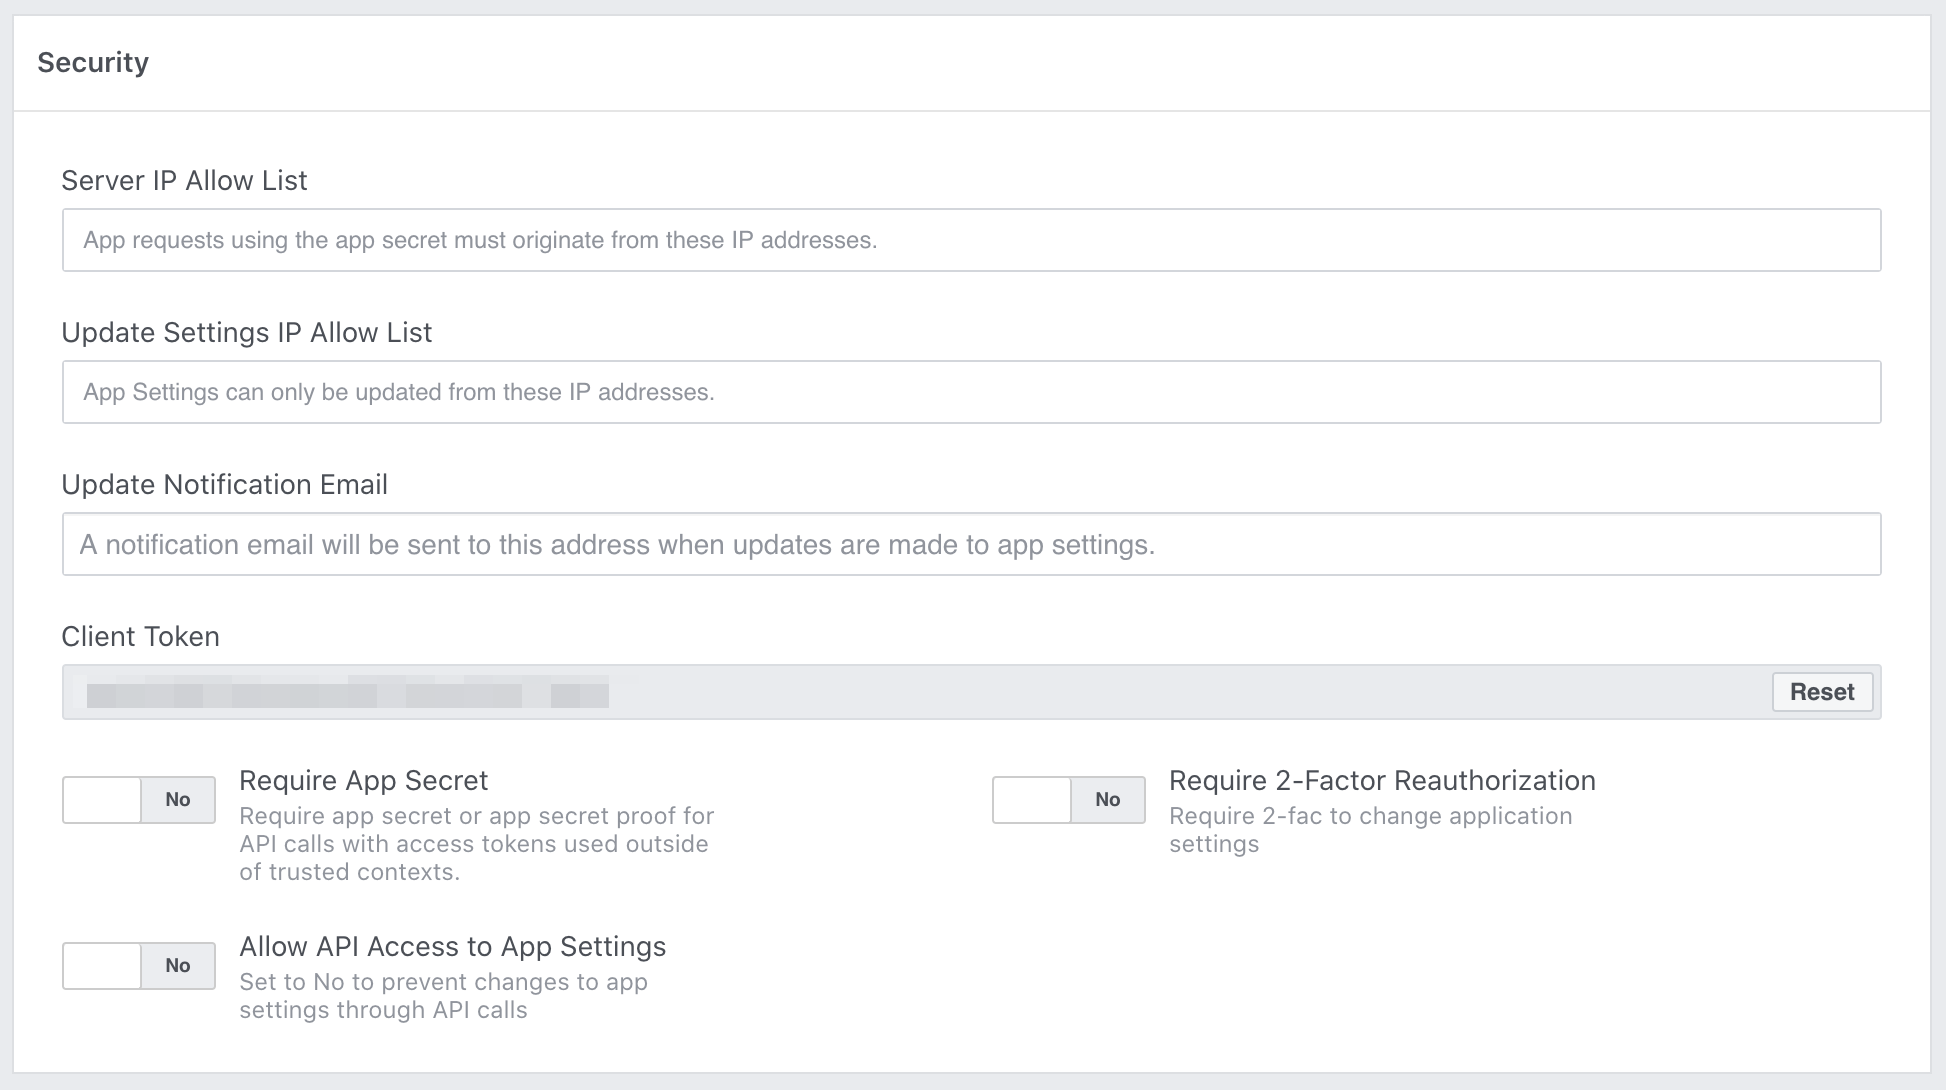
Security
These options are optinal if you wish to make the app more secure.
Facebook Login
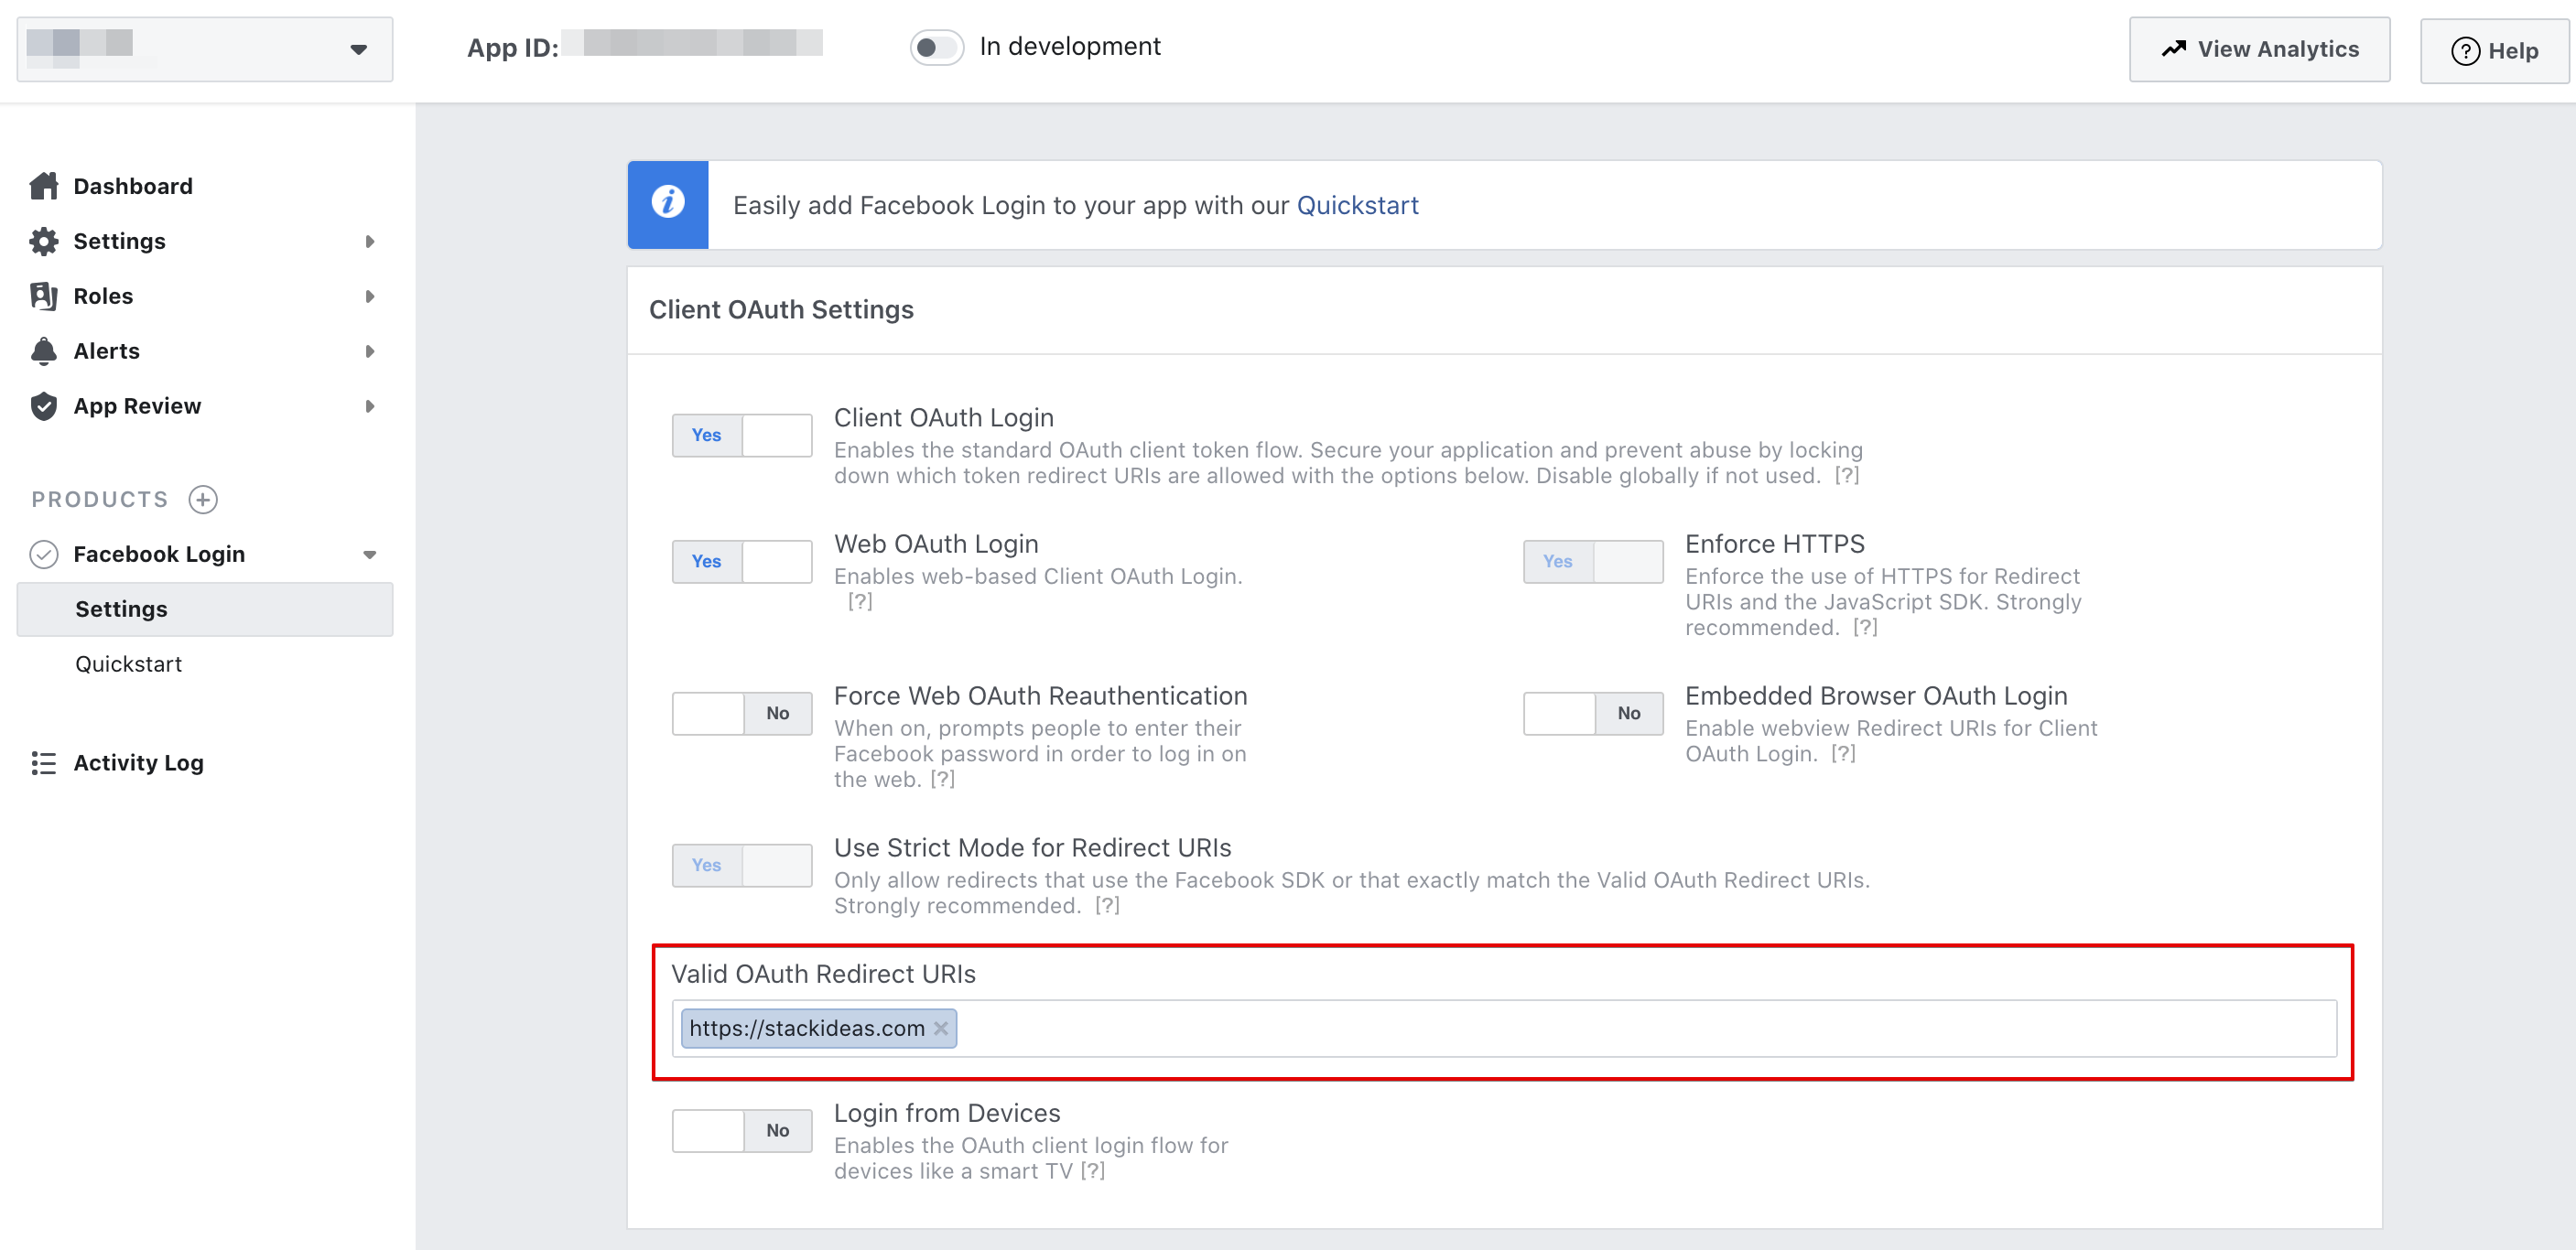
On the Facebook Login tab, navigate to Settings > Client OAuth Settings section. Under this section, you'll need to enter your site's URLs in Valid OAuth redirect URIs field and leave everything else untouched.
You're required to provide the Deauthorize Callback URL. Please enter your site's URL in this field.
Deauthorize Callback URL must be in SSL and it must start with https://.
If your site is not SSL, you're still need to enter your site's URL in SSL format. Rest assure that it will still be working fine. Click the Save Changes button to store the information.
App Review
Every Facebook apps existed in development mode by default. Once your application is ready for public use, you can switch from development to public mode. To do so, navigate to App Review tab to make the app live.
Public Action Permission (deprecated)
As of February 1, 2020, Facebook no longer allows 3rd party applications to publish updates on behalf of the user. You may read more about their notice here.
