
Maximizing EasySocial Profile Types
Today, i would like to share a little about how you make the best out of EasySocial profile types.
It's pretty crucial on how you create profile types on your site. When there's too many required fields to be filled on your registration form, you might end up losing potential users even without completing the registration on your site.
Let's explore on how you could attract and maximize EasySocial profile types to gain more potential users.
Create a new workflow
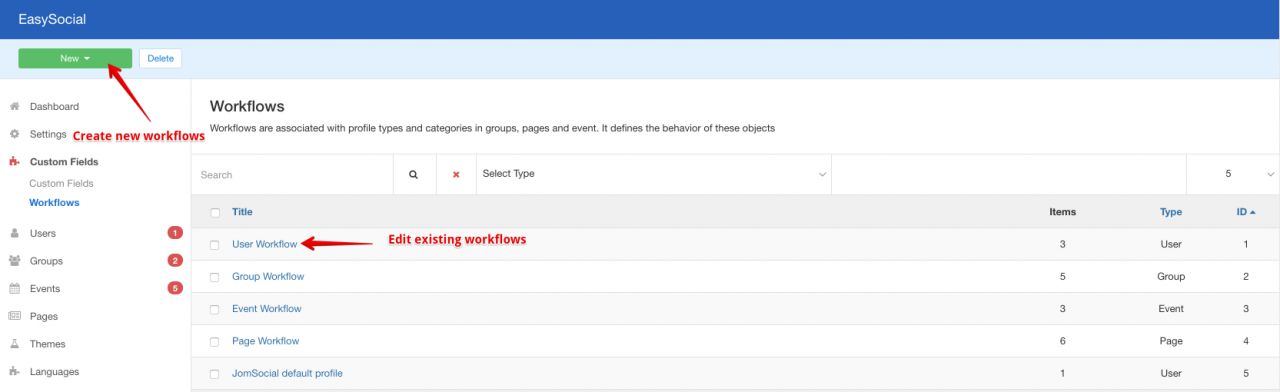
Let's start with creating a new workflow on your site. First, head to EasySocial > Custom Fields > Workflows. You can edit existing workflows (default workflow is User Workflows) or you can even create a new workflow. You can see on the image below.
Note:
Make sure you choose the profile types for your workflow types when creating new profile types.
When creating a new profile type, you will be given a set of default fields. In this section, you can configure them easily, and add or remove those fields without hassle. You can refer to image below for the walk-through.
Add new fields
You can add them accordingly, whether above or below the existing fields, or even add multiple fields at once. You can refer on my video below:
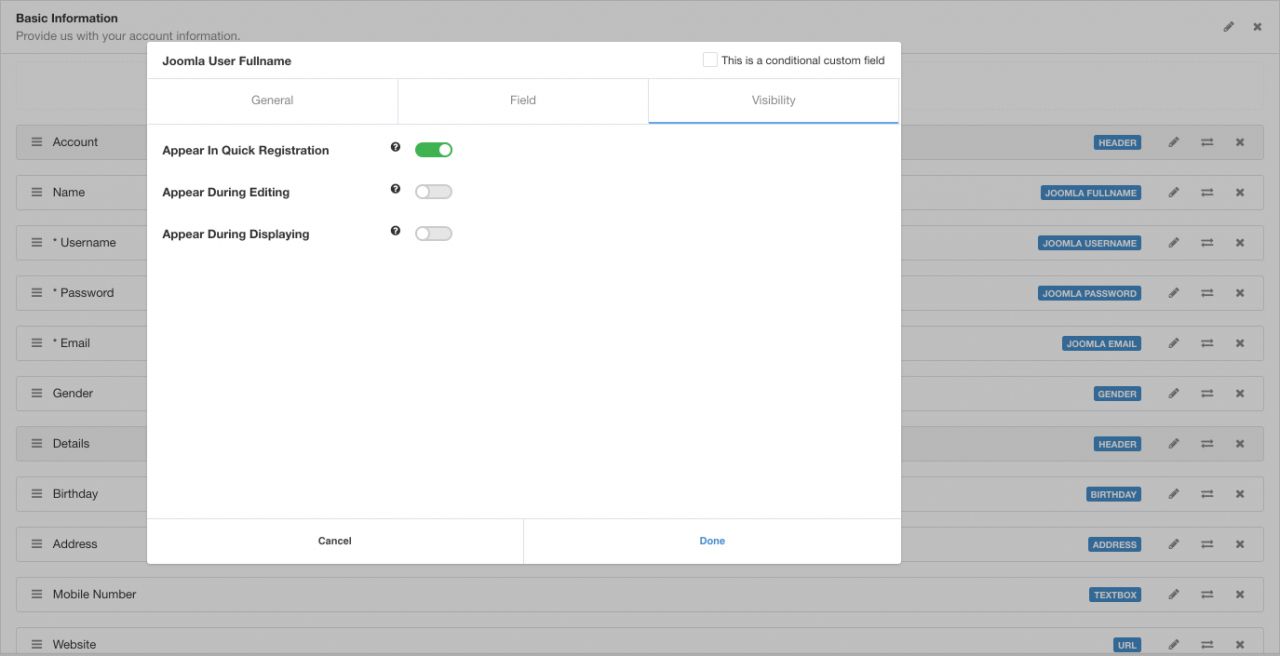
In the added fields, you can easily configure them so that you can choose to either show or hide them during the registration phase. By doing so, you can minimize the number of fields required for your potential users to fill in.
For example, you would like to hide the gender of your users. It can be configured to stay hidden during registration and edit profile sections. Refer to my video below for the walk through.
Add new steps
You can enhance your workflow by adding steps. These steps can be configured, so it's aligned with your requirements. Refer to my video below on how to add them:
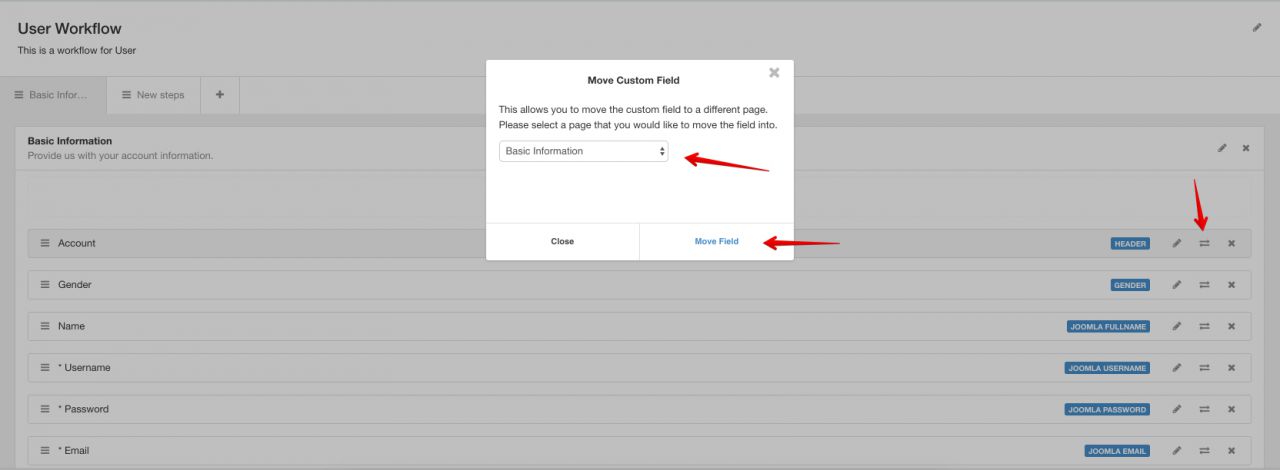
After you hit save, you can add existing fields in the other steps into the newly created steps as you can see in the image below.
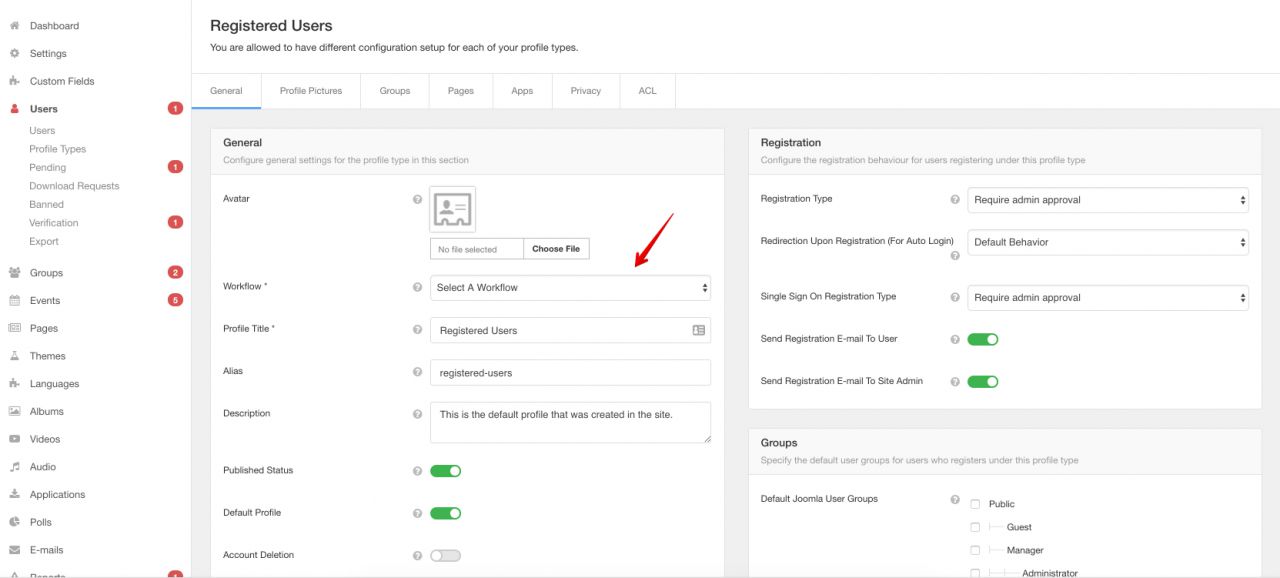
Assign workflows into the respective Profile Types
After you have completed configuring your workflows, head over to User > Profile Types. You can assign them into existing Profile types or create a new Profile Types. You can refer to the image below:
Note:
You can add same the Workflow into multiples Profile types as well.
Enhance your profile type
In order for you to attract more potential users, you can then add a set of default avatars for your users to choose from, as you can see from the image below.

Extra: Quick Registration Configuration
In EasySocial, we offer admin to choose one of the two types of registration, that is Quick and Full registration process.
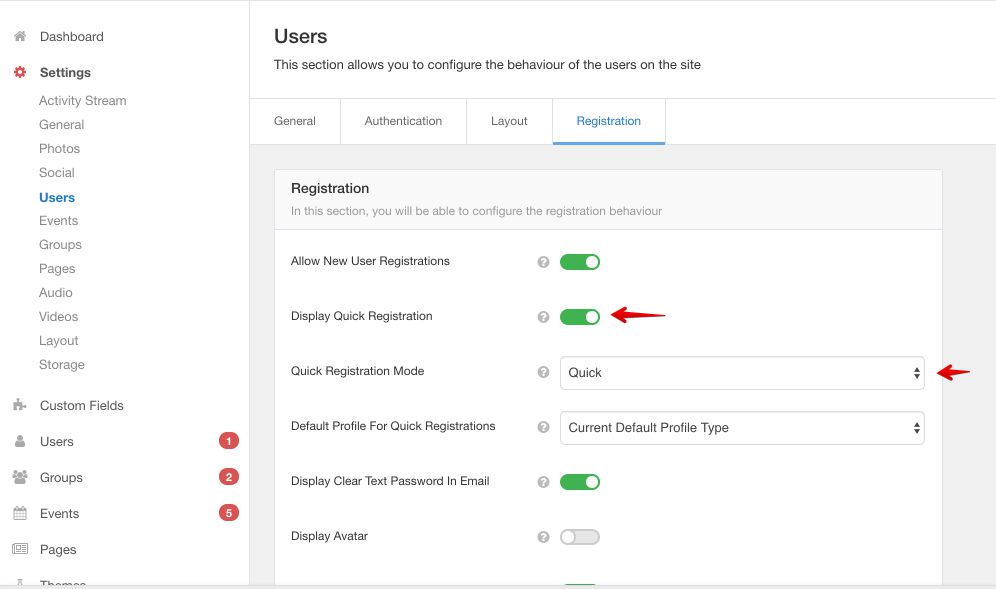
By choosing 'Quick' registration, you actually allow users to registration without going through the profile type selections or fill in the relevant fields. To achieve this, you can configure them by heading to Settings > Users > Registration as you can see from the image below.
To choose which fields should be shown on your Quick Registration process, you can configure them on the workflows itself as you can refer to image below.
I hope you learnt something from today's tutorial. We will see you again next week. Happy weekend folks!