
Exploring Templates Hacks
Do you know that you can inspect a html element, pre-apply styling on your site or adding and removing html block without having to write it out in a file beforehand? Have you ever wanted to know what stylish font was used on a certain website? or the text color used for that title? or what is the dimension of an image displayed? Yes, all these actions can be done in most of the latest browsers nowadays.
Introducing Inspector. It is a set of web authoring and debugging tools built into most browsers, allowing web developers to easily and efficiently track down layout issues, Javascript breakpoints and get insights for code optimization. It can help you to diagnose problems quickly, which ultimately help you build a better website.
Today, we'll be focusing on inspecting styles of a site. Every developer goes through this experience where you code some CSS, but the styles aren't being reflected on the site. Or, the applied style looked way different from what you have expected. This tutorial will show you how to use inspector to see how the browser is actually applying styles to the website.
Inspecting An Element
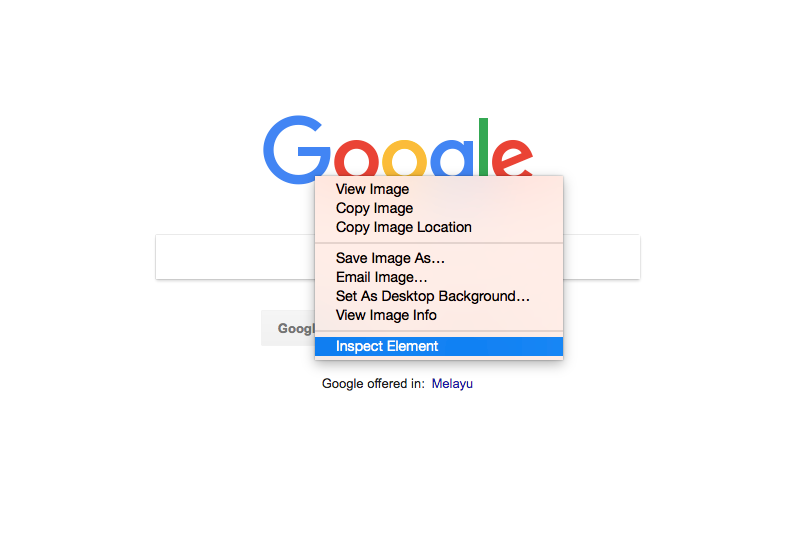
Open up a new tab, and type https://www.google.com. Right-click on Google logo and select Inspect Element. If you're using Google Chrome, you'll see the Elements tab opens and the inspected element will be highlighted. If you're using Firefox, then you'll see the Inspector tab opens and the inspected element will be highlighted.
In the DOM tree, you can move up or down, edit or delete the element. These actions are only applied on the current view and all changes will be reverted to the original state after you refreshed the page.
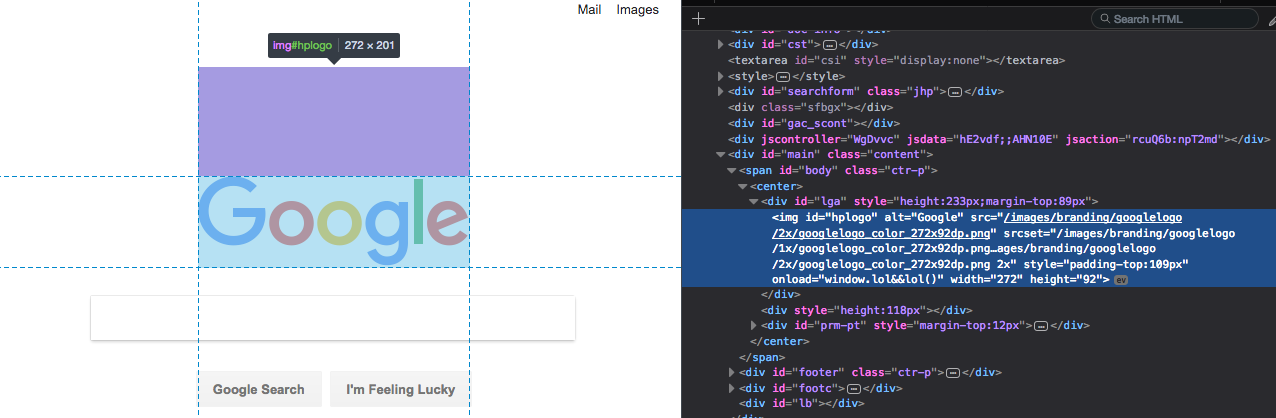
There are many ways to select an element. In your viewport, right-click the element and select Inspect. In development tools, press Command+Shift+C(MacOS) or Control+Shift+C(Windows), and then click the element in the viewport. In the development tools, click the element in the DOM Tree.
Applying CSS Declaration
Using the Styles or Rules tab when you want to change or add new CSS declaration to an element. Do note that the list of CSS rules displayed here are applied to whatever element that is currently selected. The selected element is highlighted blue in the DOM Tree. To the right, the element's styles are shown in the Styles tab on Google Chrome or Rules tab on Firefox.
Right-click on Google Search button and select Inspect Element. If you're using Google Chrome, click on element.style rule near the top of the Styles tab. If you're using Firefox, click on element rule near the top of the Rules tab.
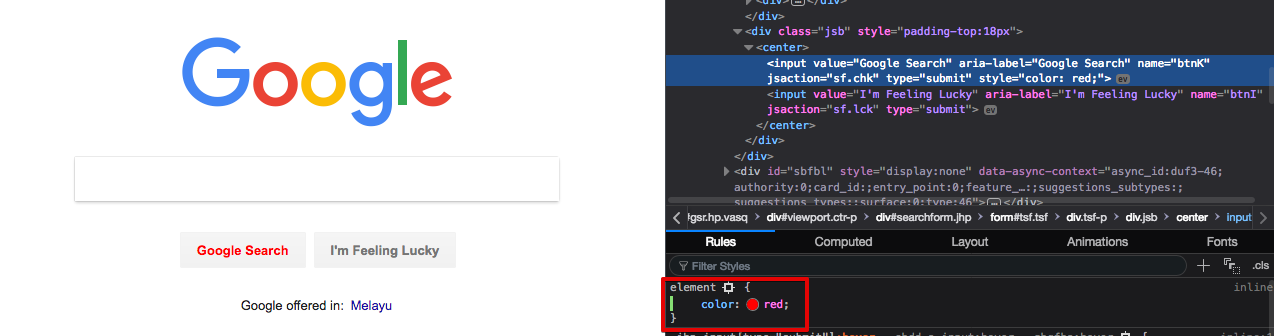
Type in color and press Enter. Type red and press Enter. In the DOM Tree you can see that an inline style declaration was applied to the element.
You can also apply a Hex Color Code if you have any. Here are the example: #97caef, #e09085, #8eff60 and #000000. Edit color style which you've added before and replace red with any of the above hex color.
Adding Class To An Element
Using the Styles or Rules tab to see how an element looks like when a class is applied to, or removed from.
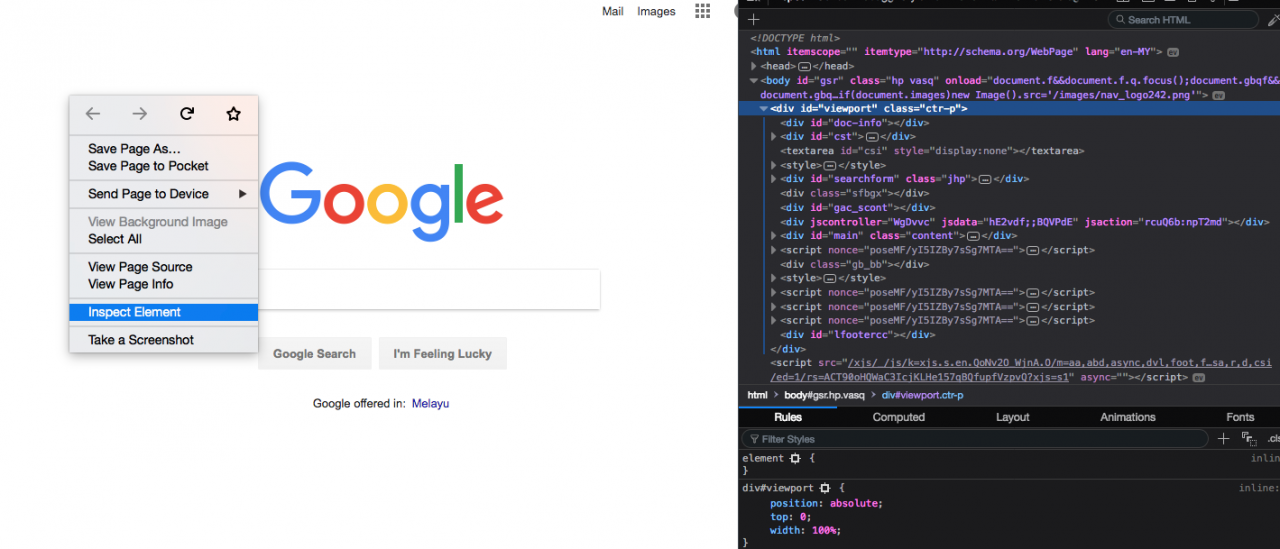
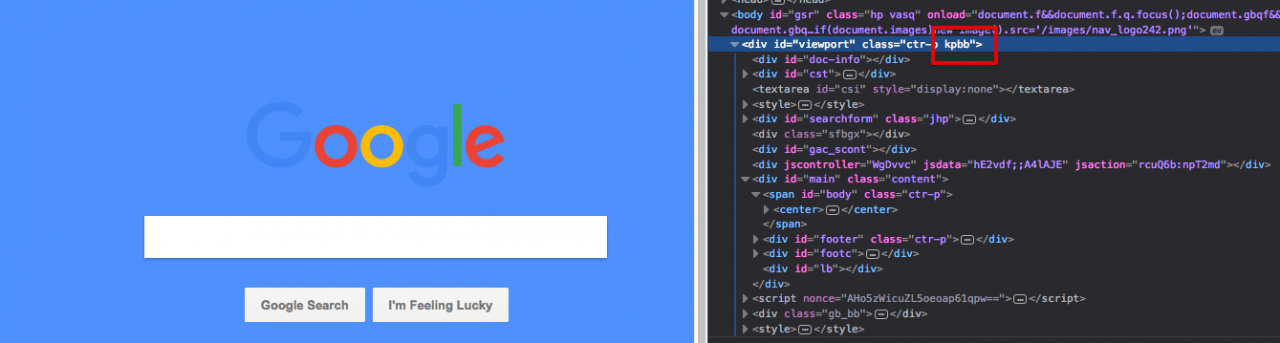
Right-click on background and select Inspect Element. If you're using Google Chrome, you'll see the Elements tab is opens and the inspected element will be highlighted. If you're using Firefox, then you'll see the Inspector tab is opens and the inspected element will be highlighted.
On the selected element, add a pre-defined class kpbb to the selected element. After you have added the class, you'll notice that the inspected element will change it's text color. This is due to the pre-defined styling on the element.
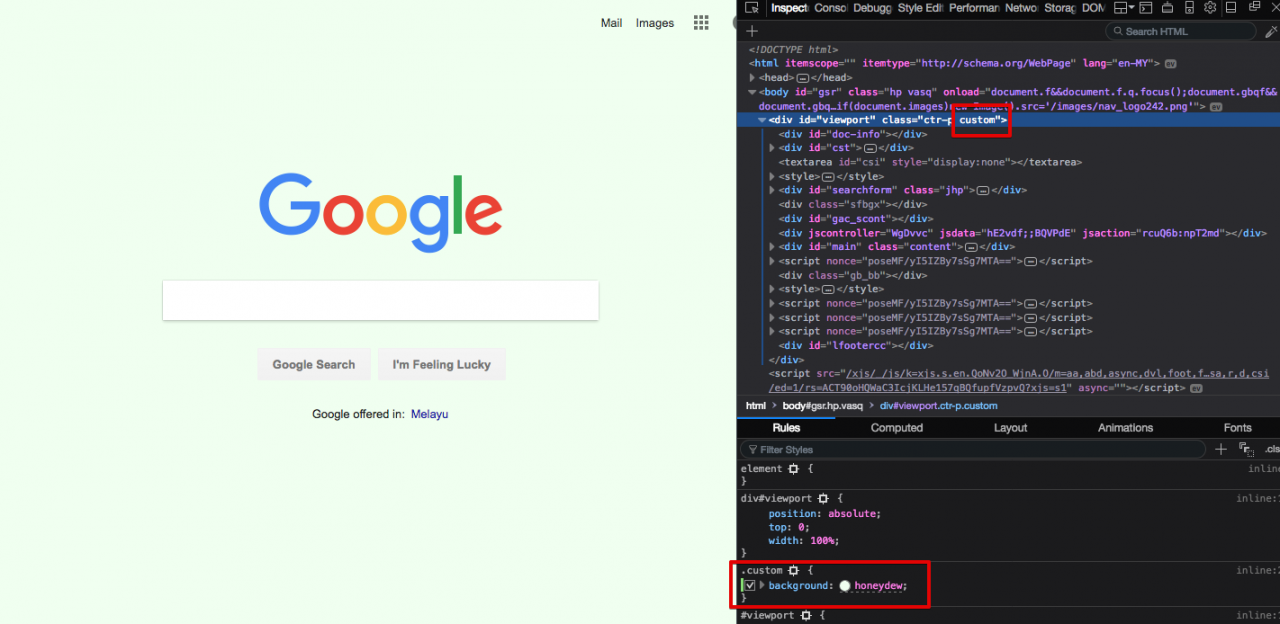
You can also defined your own class and styling. For example, try add this class custom onto the inspected element. You'll notice that nothing happen. This is because there is no styling available yet on the class
Now, let's create new rule for this class. On the Rules tab, right-click and select Add New Rule if you're using Firefox. But if you're using Google Chrome, on Styles tab, click on + icon on the Styles tab. It will automatically create a new rule for you.
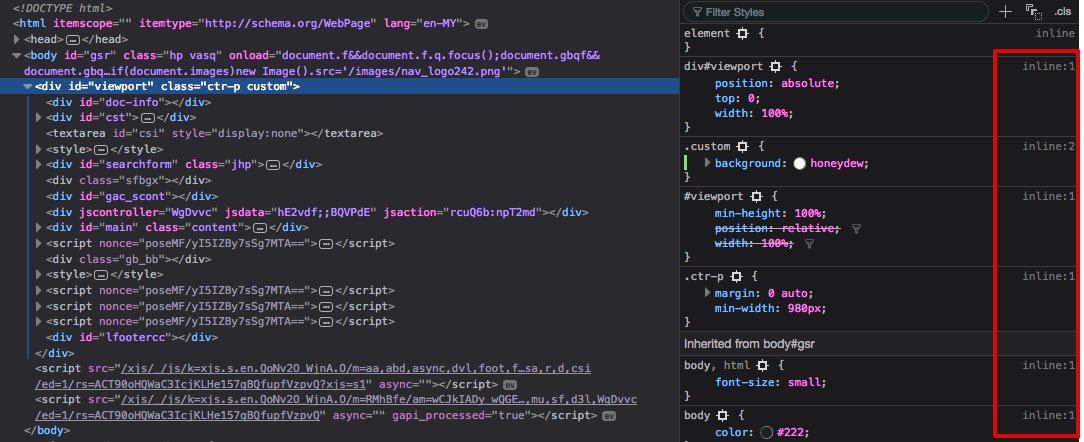
Notice that a check box will appear beside each styling. You can actually can toggle each styling on and off. If the element had another class styling applied to it, you would be able to also toggle it off.
CSS Reference
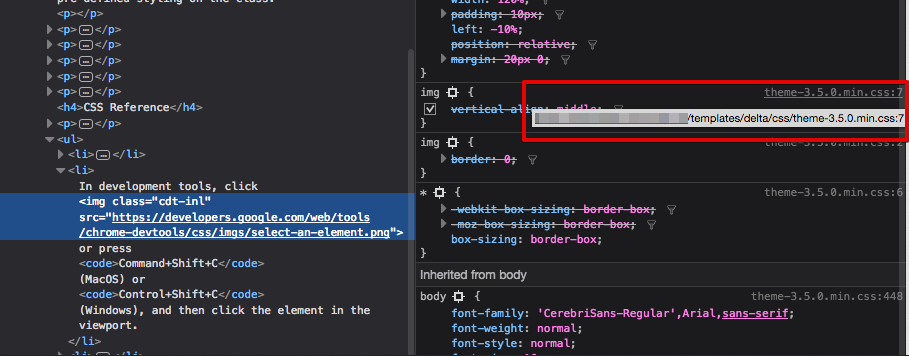
The Elements on Google Chrome or Inspector on Firefox panel allows you to select, view or change the styling of one element. In the styles panel, click on the link next to a CSS rule to open the external stylesheet that defines the rules. The link actually shows where does this styling is coming from, and on which line. However, in Google page, all styling are defined inline.
This is an example of CSS reference. This information should be useful for all developers to search and isolate the conflicted styling. Appropriate fixes or styling can also be applied to the conflicted styling.
For further reading can be found at: Development Tools.