This guide will walk you through your first PayPlans installation process. Upgrading PayPlans by installing using the installer basically goes through the same process.
Download The Installer
The installer can be found on our site, which is on your Dashboard. Once logged into your account dashboard, you should be able to see the list of subscriptions that you're currently having. Choose PayPlans and click on the download button to get the installer package.
If this is your first time downloading the installer package, our system will prompt you to register the domain name of your site. This domain must be a valid domain of yours because it will be used when requesting support from us.
Installing PayPlans
Once you have acquire PayPlans installer package, you may proceed with the installation. The installation process is fairly simple and very straight forward. It is as easy as uploading the installer package via Joomla Extension Manager and follow the designated steps on the installer.
Uploading PayPlans Installer
Firstly, navigate to Joomla Extension Manager by accessing Extensions > Manage > Install.

Click on the Browse button to locate and select PayPlans installer package. Once ready, click on the Upload & Install button to continue the installation process.
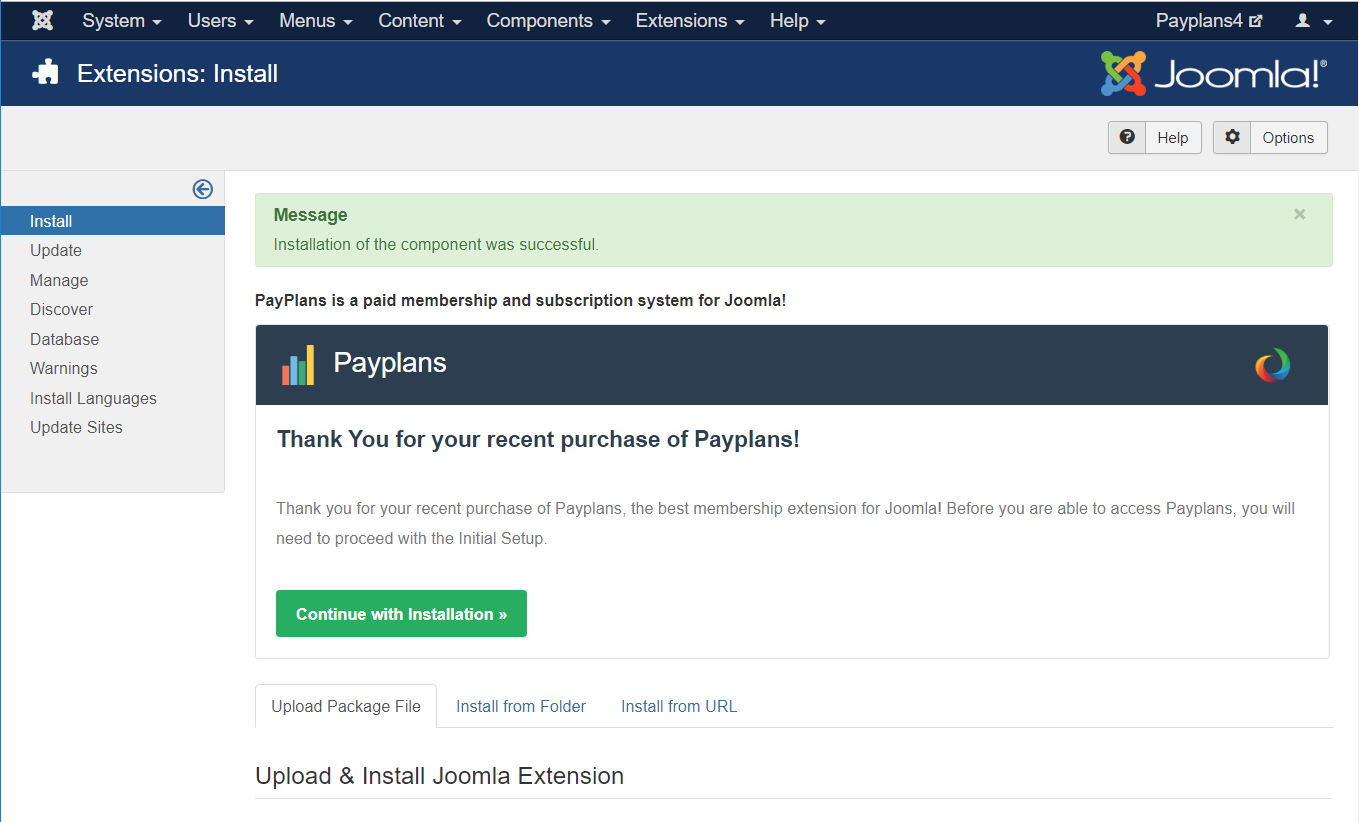
Once the uploading process is completed, a screen that looks similar to this will be displayed. Continue the installation by clicking on Continue With Installation button.
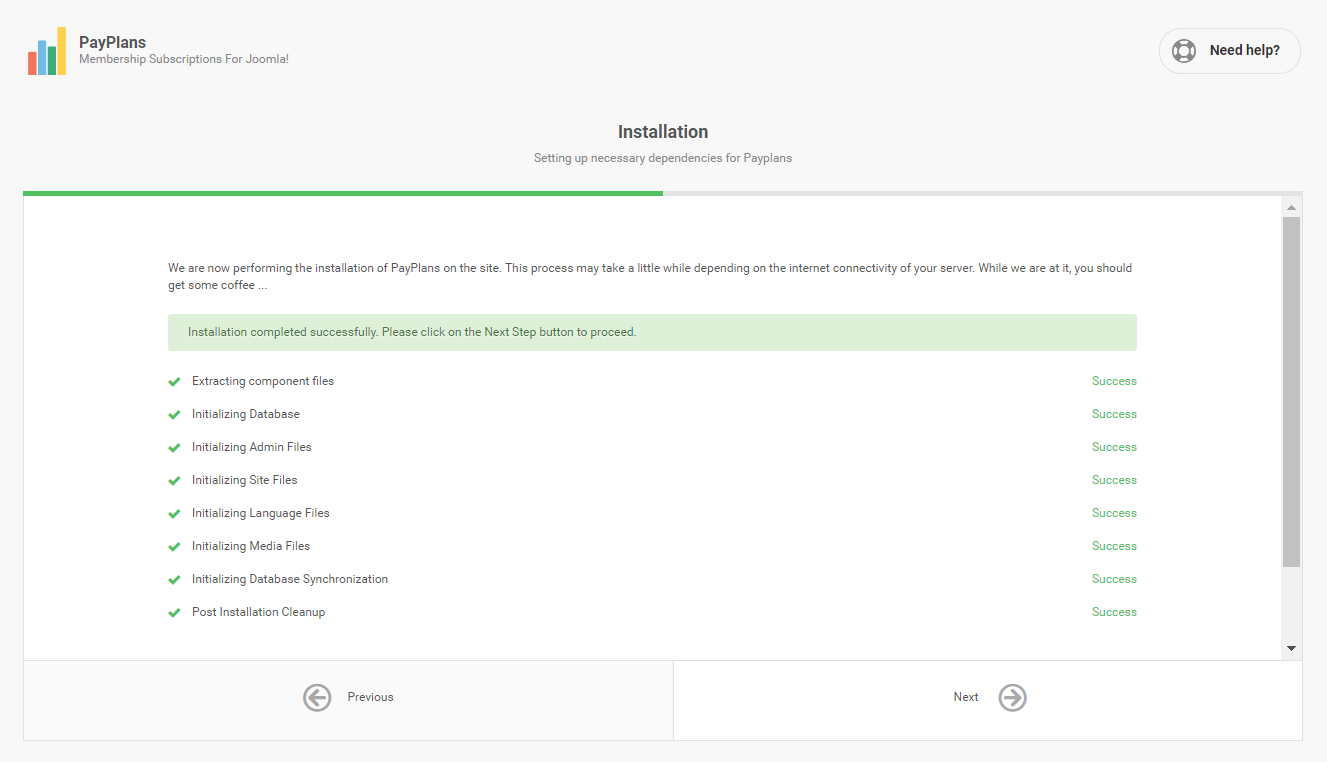
Installation Process
When the installation process starts, you will see a screen that looks similar to the image below. This process may take a while depending on the internet connectivity of your server. The main PayPlans package will be directly downloaded to your server and automatically installed on your site.
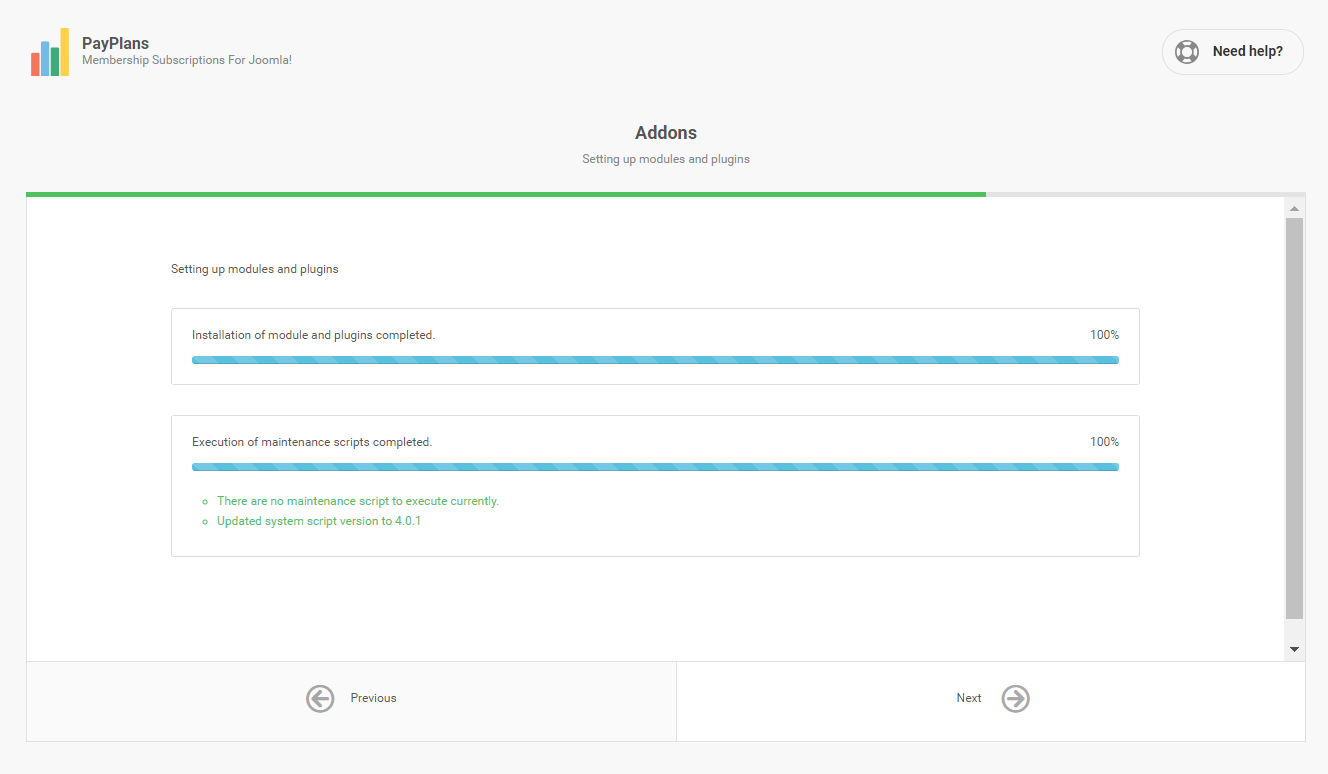
Addon & Maintenance Installation
On this page, you will be able to install plugins and selected module on the site. Ideally, you should let it install all the modules and plugins unless you're an Advanced User and know what you're doing. Click on the Next Step to proceed with the addons installation.
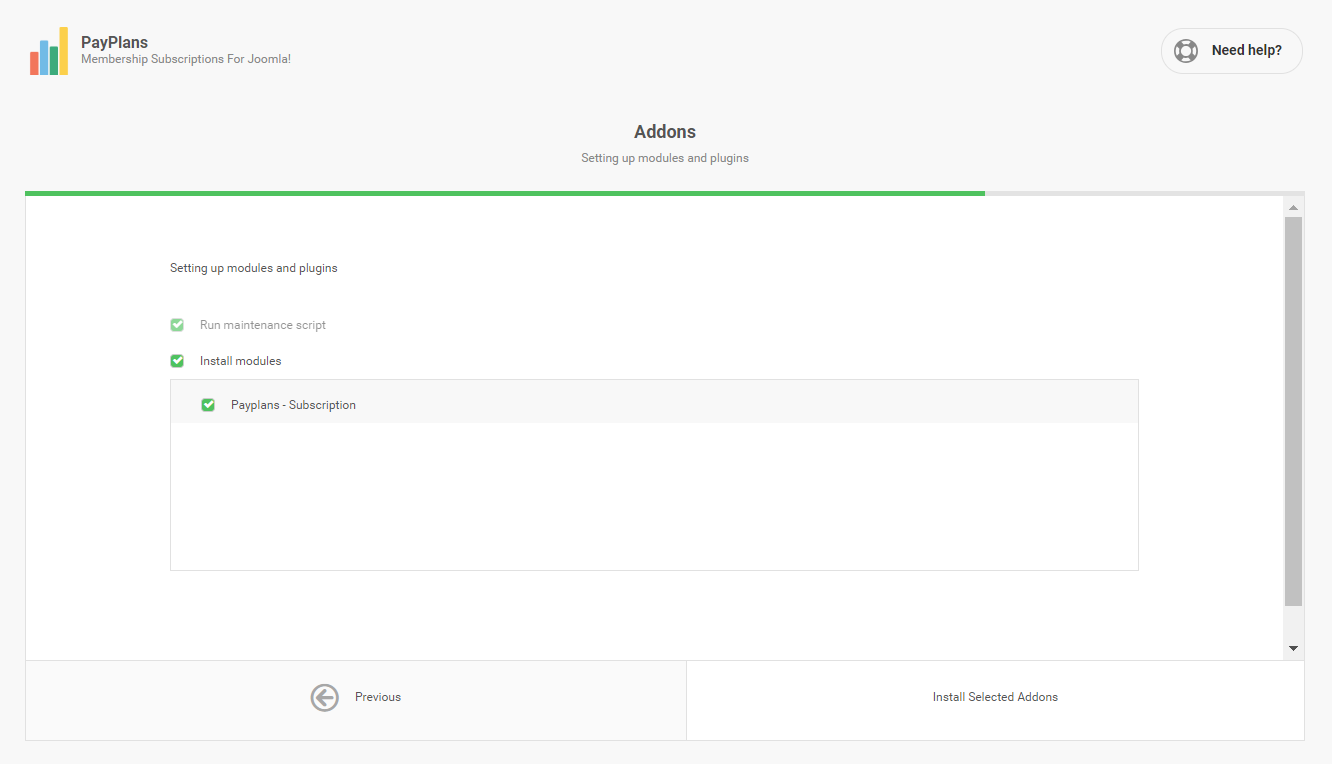
There are times when PayPlans needs to run specific update/maintenance routines to ensure the data integrity of the system. They will be executed during this step. Rest assure it would only take a few seconds.
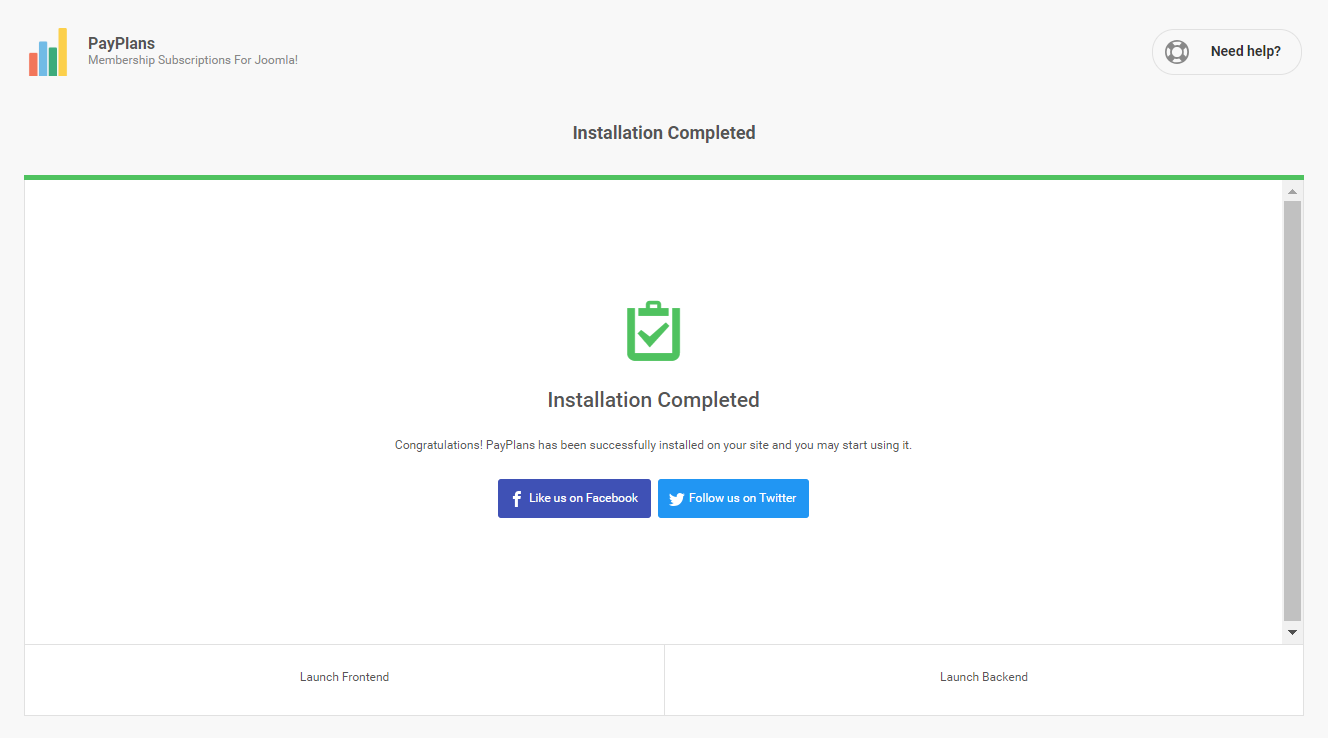
Completed
Now, the installation process is completed. You may now start configuring PayPlans settings by clicking on the Launch Backend button or experience PayPlans from user point of view by clicking on the Launch Frontend button.