A provisioning profile is a collection of digital entities that uniquely ties developers and devices to an authorized iPhone Development Team and enables a device to be used for testing.
To obtain the provisioning profile, follow the steps below:
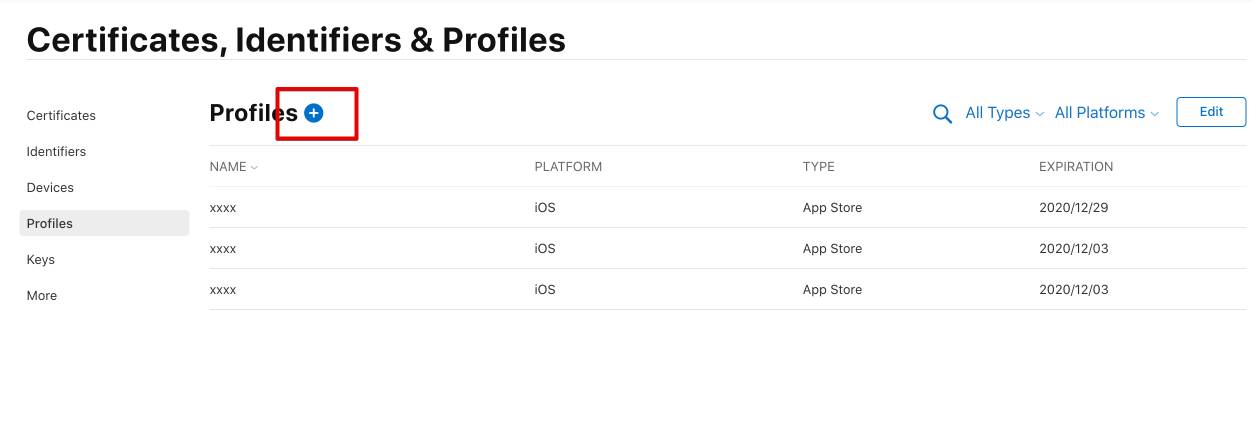
Head over to Apple Developer Profiles and click on create a new profile.
Choose
App Storeunder the Distribution category.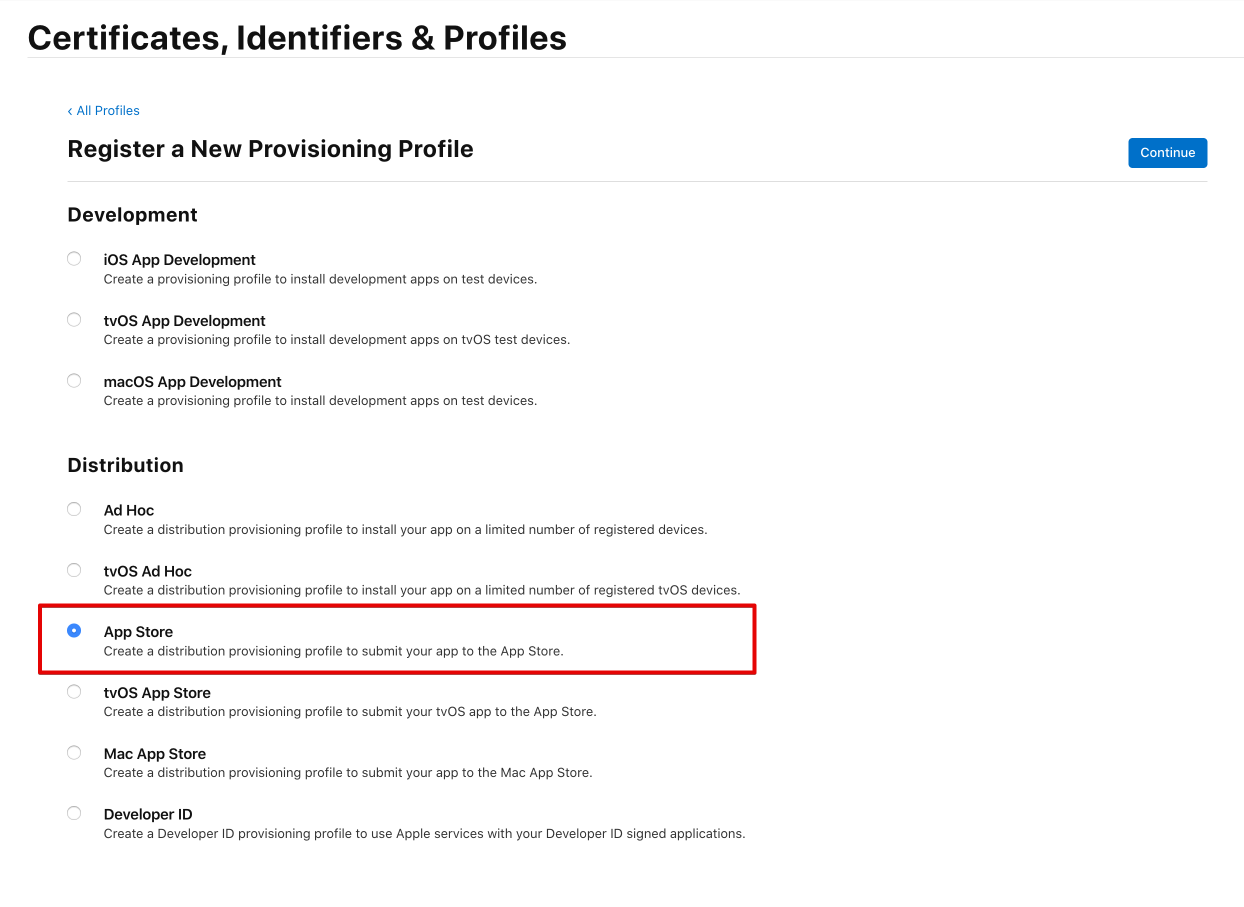
Choose the
App IDthat is associated with the app that you are building.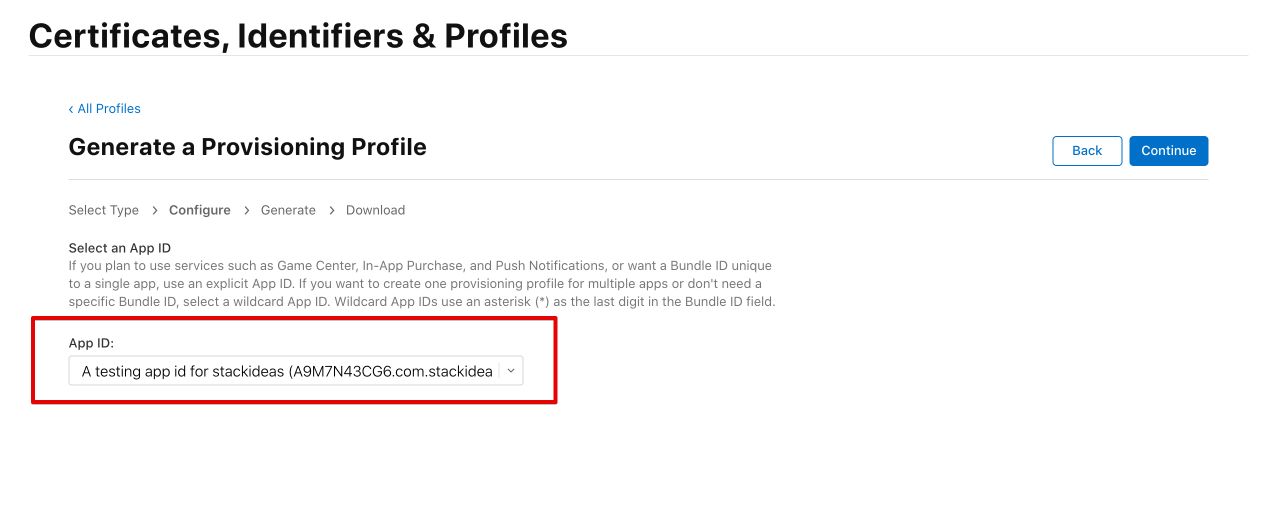
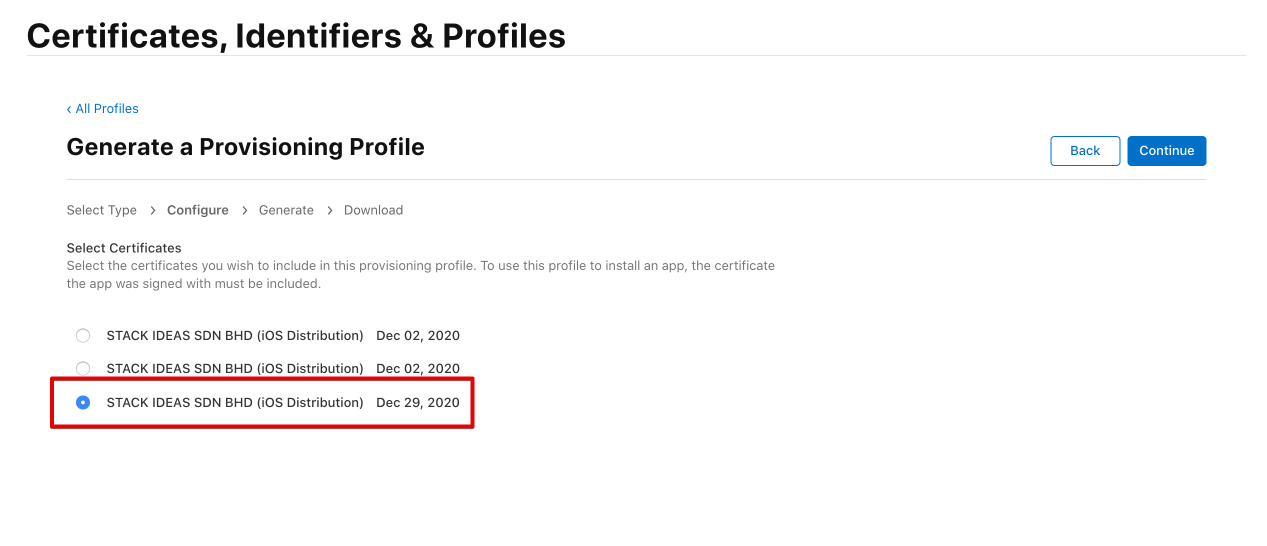
Choose the certificate created when obtaining the .p12 file. If there is multiple certificates shown as below, choose the one with the latest expiration date.
Give the provisioning profile a meaningful name
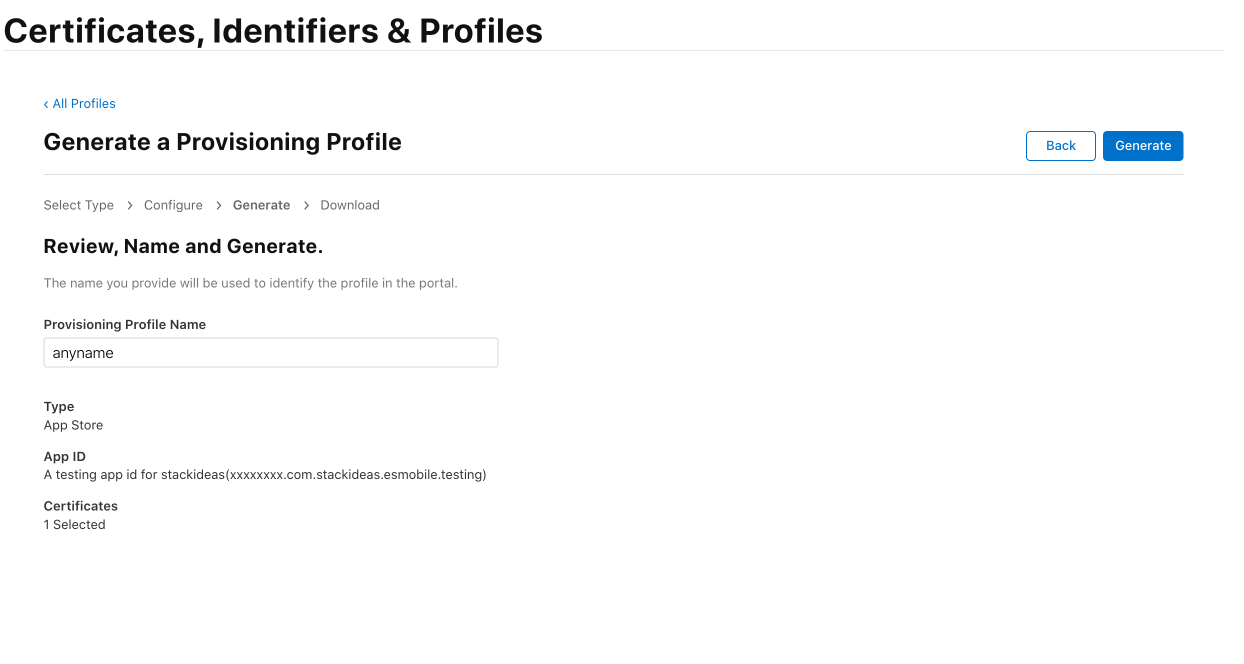
Once the profile is generated, download the file onto your computer. The name of the file will end with
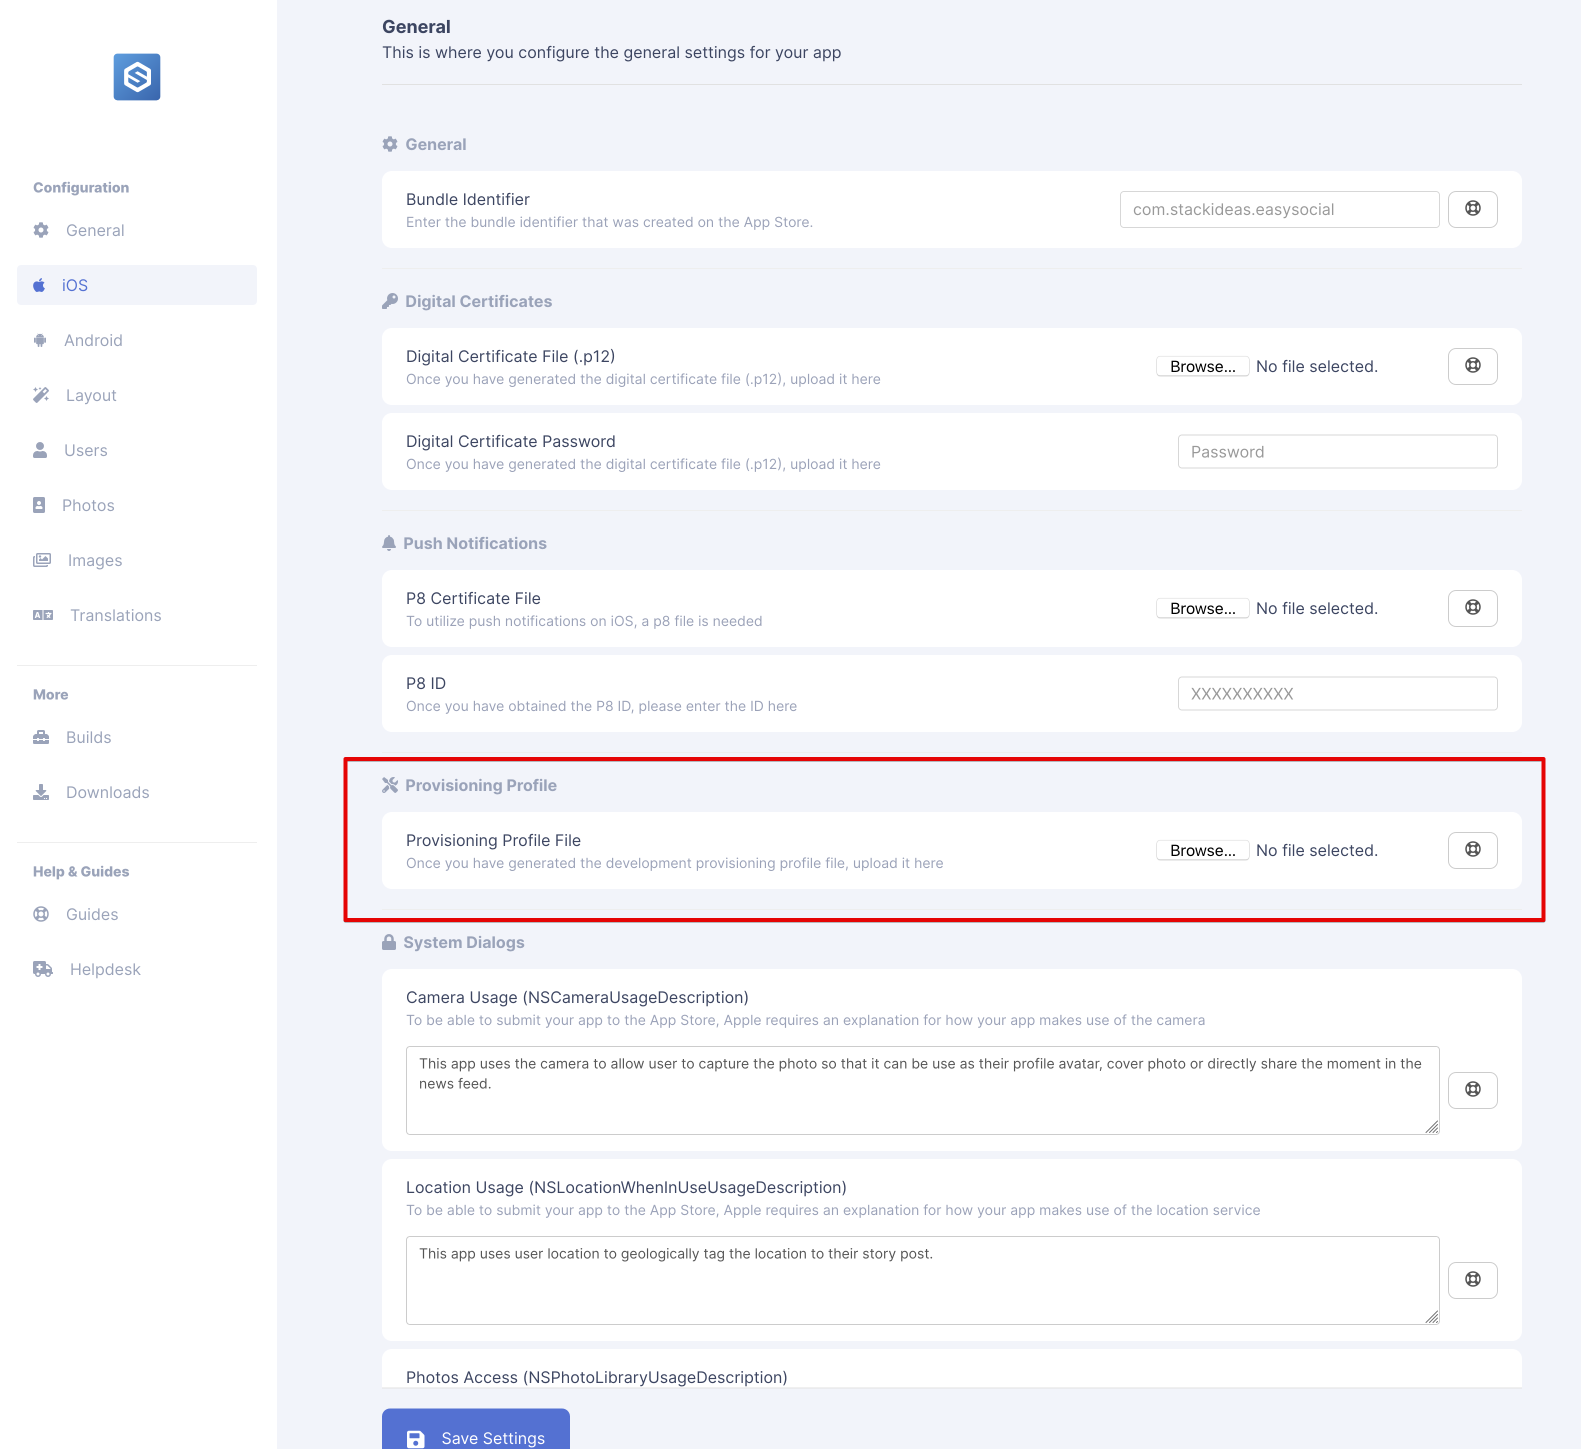
*.mobileprovisionOnce downloaded, head over to the
iOS Settingsarea and upload the provisioning profile file.