Bundle Identifier is almost like an ID. It is used by Apple to label your app with a unique id and relate it's other services using this ID.
Here, you need to create two kind of identifiers, iCloud Containers and App IDs.
Creating iCloud Containers
Head over to Apple Identifiers to create a new iCloud Container Identifier.
Click on the
+button at the top.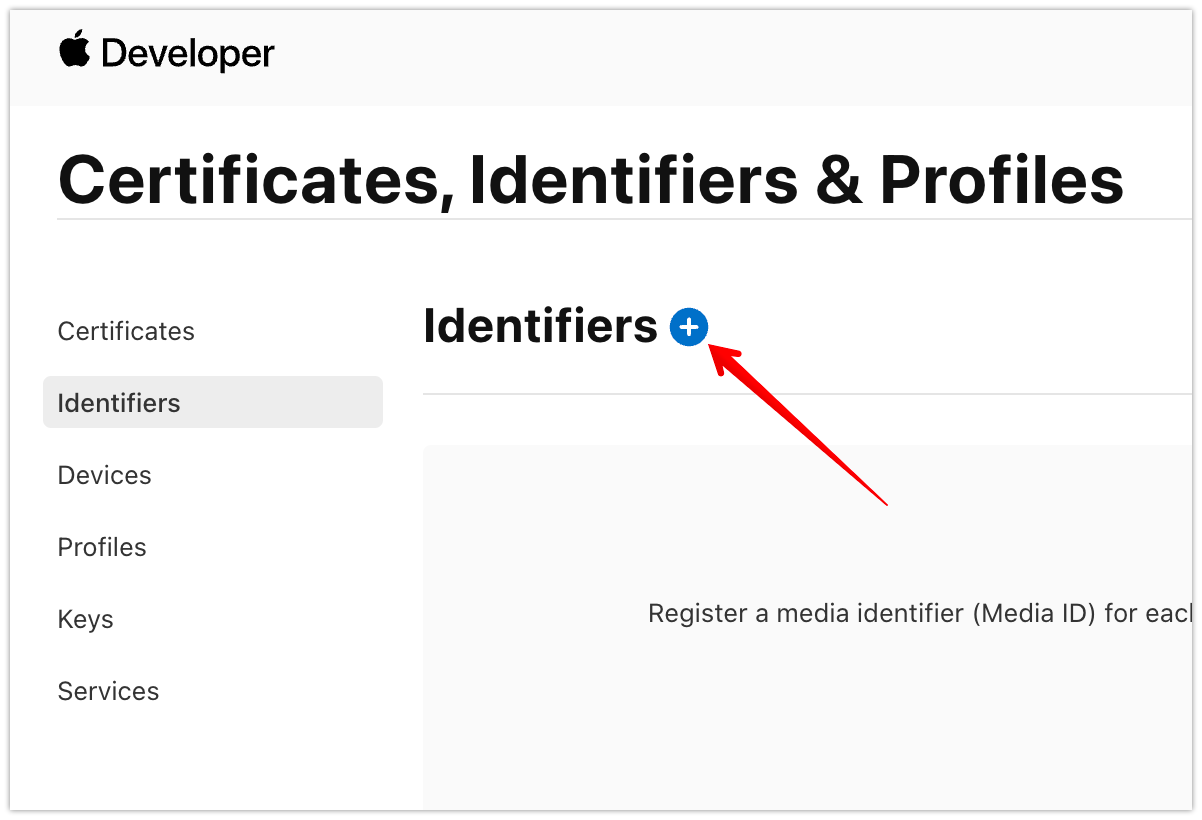
Choose
iCloud Containersfrom the available options below and click Continue.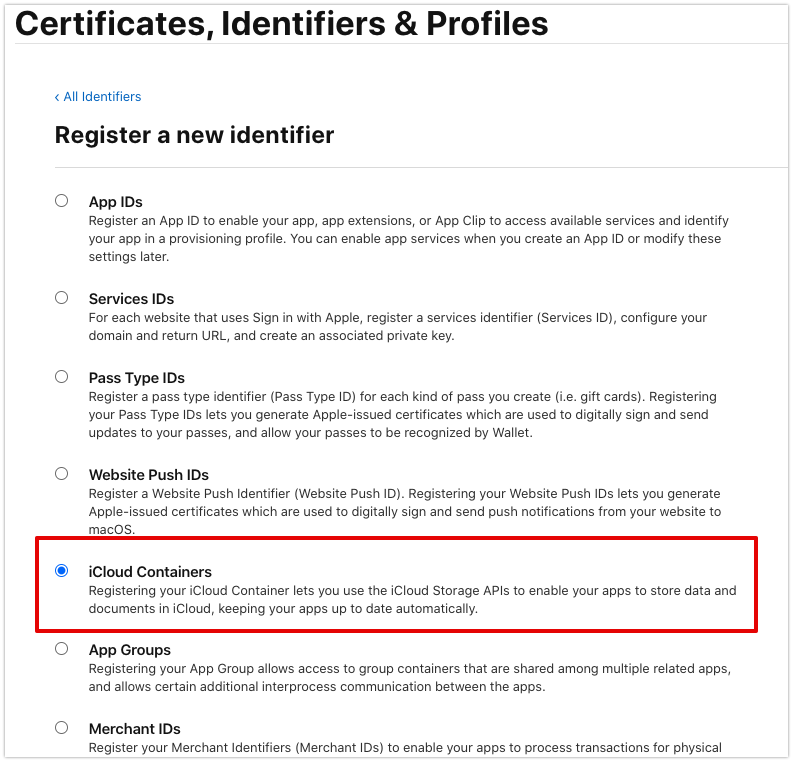
Key in the description and Identifier. Note that you must key in the identifier with the following format,
iCloud.<your_bundle_identifier>where your_bundle_identifier is the one that you will specify under Creating App IDs section later on.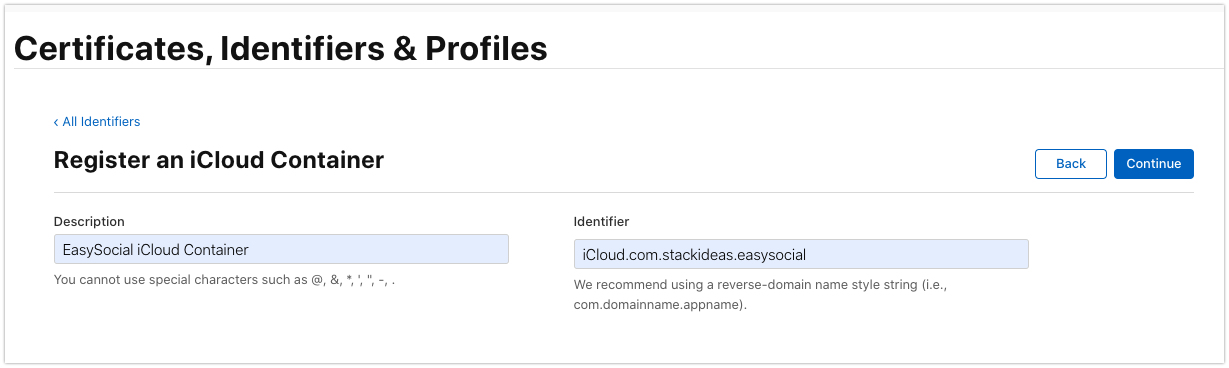
Click on Continue button and then click on Register button if all the information shown is correct.
Creating App IDs
Head back to Apple Identifiers to create a new Identifier for your App.
Click on the
+button at the top.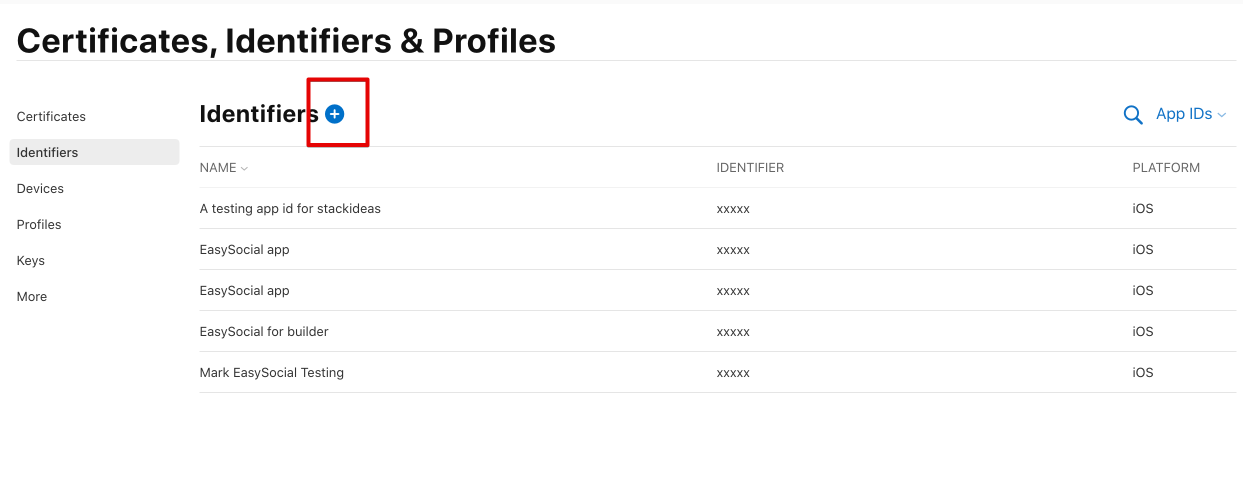
Select
App IDsas shown in the screen below and click Continue: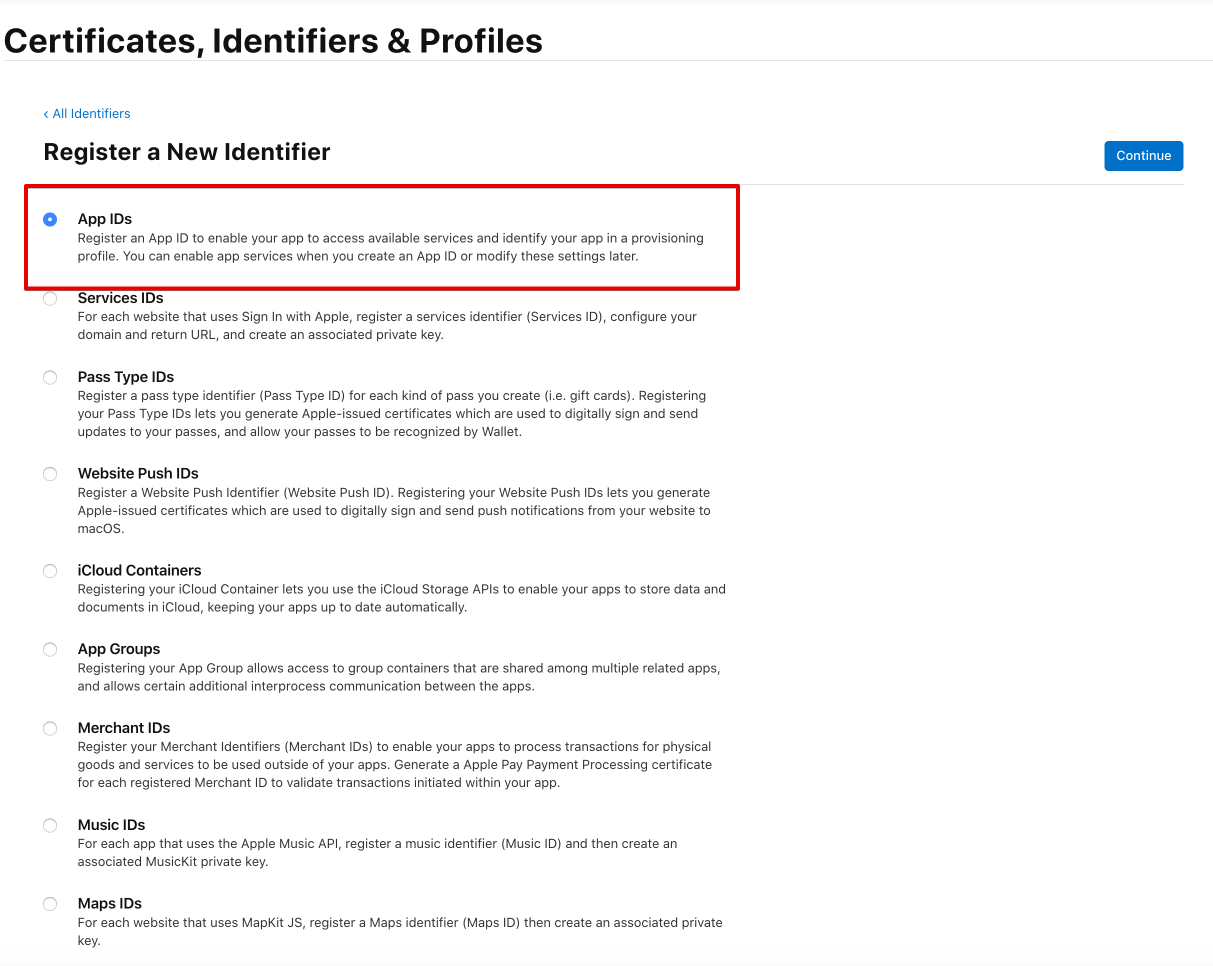
Select
Appfrom the type selection and click Continue.As for the
Bundle ID, remember to enter the exact same ID as you have set from your iCloud container but without theiCloud.. For example, if you have set the iCloud container ID to beiCloud.com.stackideas.easysocial, the bundle ID that you specify here will becom.stackideas.easysocial.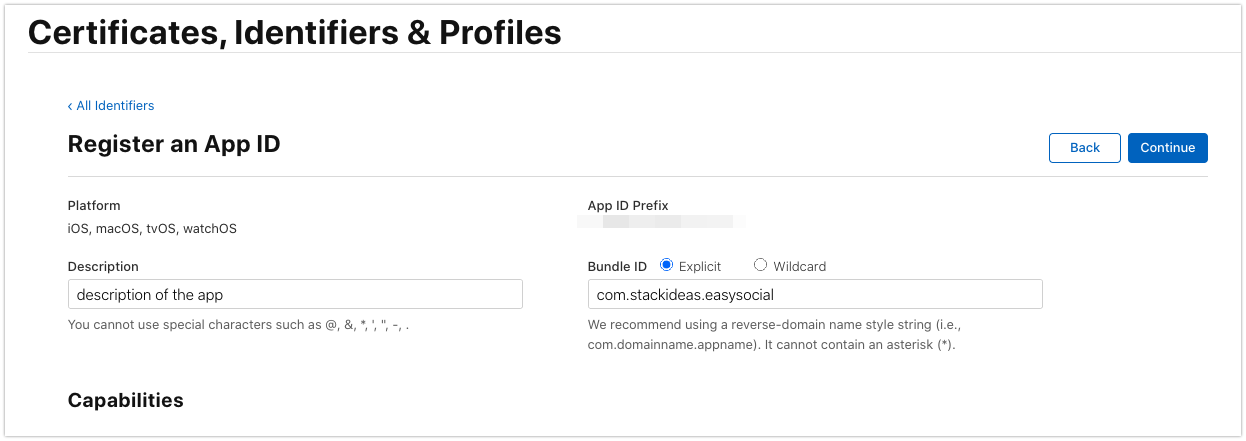
Fill in the rest of the details such as app description. Scroll down to
Capabilitiessection once done.Next, you need to enable three capabilities,
Push Notifications,iCloudandSign In With Apple.Scroll down the page until you see
iCloudoptions, click on it and chooseInclude CloudKit support (requires Xcode 6).
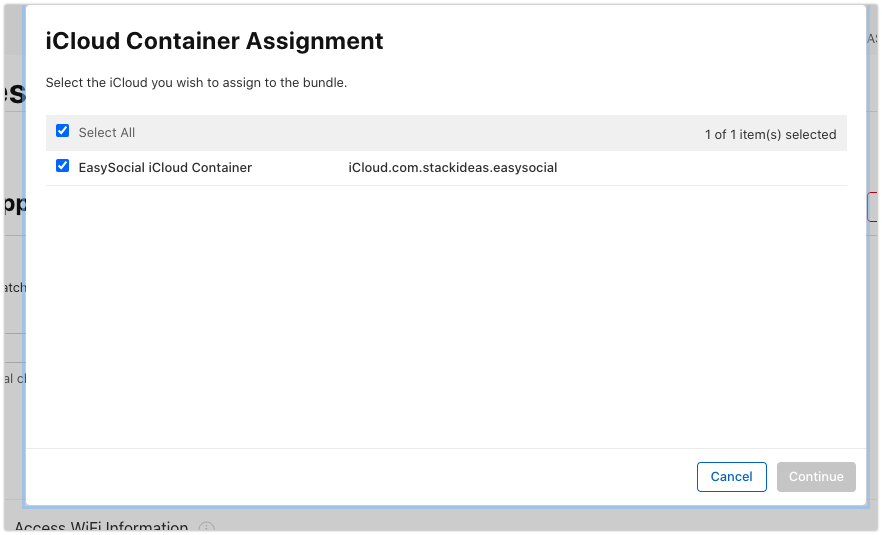
After that, click on the
Configurebutton next to it.Choose the container that you have just created earlier and click on Continue.
Next, scroll down the page until you see
Push Notificationsoptions. Click on the checkbox next to it in order to enable push notifications for your app.
Next, below the
Push Notificationsitem, Enable theSign In with Applecapability, click Edit button, and make sureEnable as a primary App IDis selected and clickSave.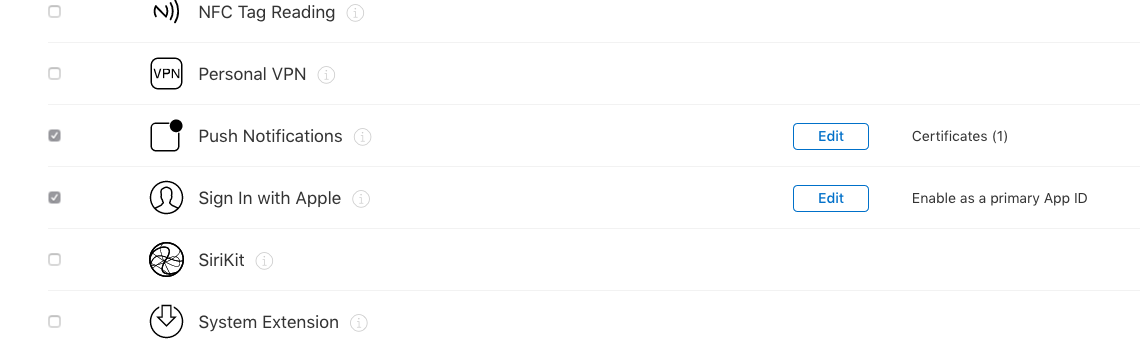
Lastly, click on
Savebutton at the top of the page. Remember to copyBundle IDinto the App Settings for iOS to ensure that the app is linked correctly.